Week 8 This session was divided into several sections. Which are given below with the times:
DIY sensors 14:00 pm - 16:00 pm Konnektivität… 120 kiloOhm resistance we connect the LED to the number nine on the Arduino board the longer leg of the LED is the plus pole We connect our resistance pad with crocodile clips to the Arduino board to the 5V, the other cable from from 5V in the Arduino board. The ground goes from the board to the minus from the minus to the resistance and the resistance to the minus on the board witch means to the ground. The other side from the resistance is connected with a crocodile clip to the A0 on the Arduino board. (Minus)
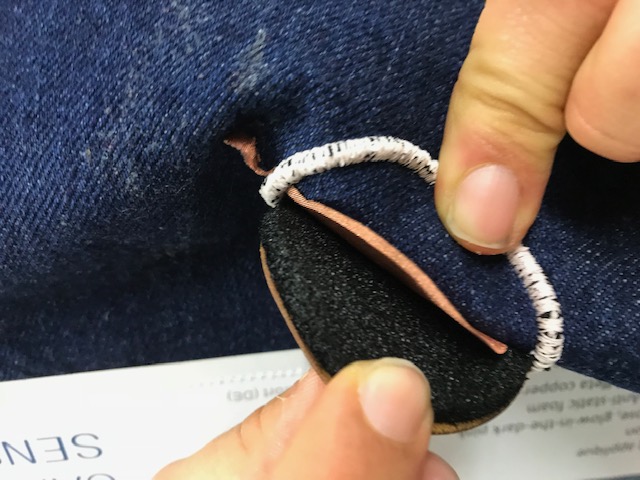
DIY sensors finished with embroidery: First, the parts are put together. A layer of hem material surrounded by two parts of conductive fabric. Sewn together with a normal thread that is not allowed to guide. The two conductive substances must never come together. The finished piece is fixed and applied to a piece of cloth and covered with the embroidery machine.
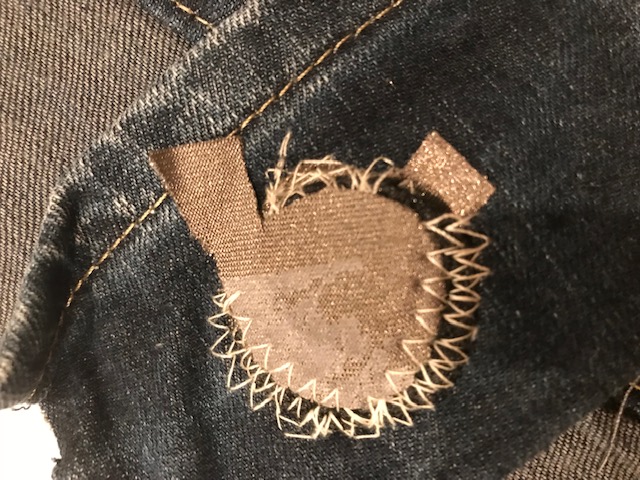
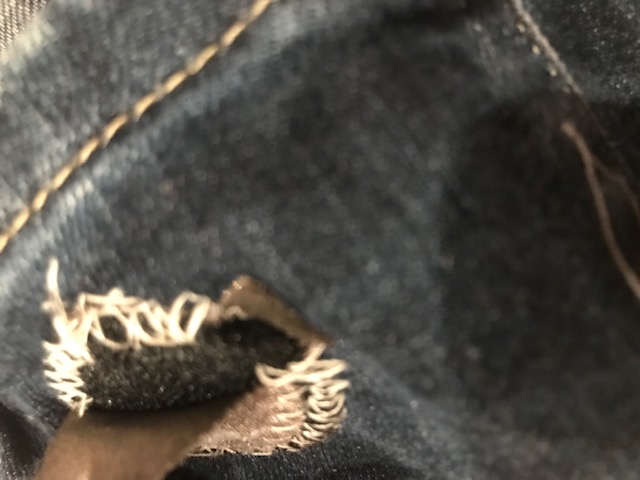
It looks better with the embroidery machine :) Photo taken from a finished sensor from the Fablab
Second part: 16:00 pm - 16:30 pm The Prof. Explain about The engineering design process.
Third part: 4:30 pm - 5:30 pm Caroline Hirtz explain about Bottroper Werkstätten GmbH. She is talking about workshops for people with disabilities. About the processes in the workshops and the various work areas in which people with disabilities can work in the workshops.
Fourth part: 17:30 pm - 18:22 pm We discuss about the project with the Professor and Caroline Hirtz. Everyone had to briefly introduce their project We choose for our project to create compressive socks and give a short Introduction about our project!
Fifth part: 18:22 pm - 19:00 pm Knitting part Liane explain first how the knitting machine is working. After this verjinia want to start the first try.
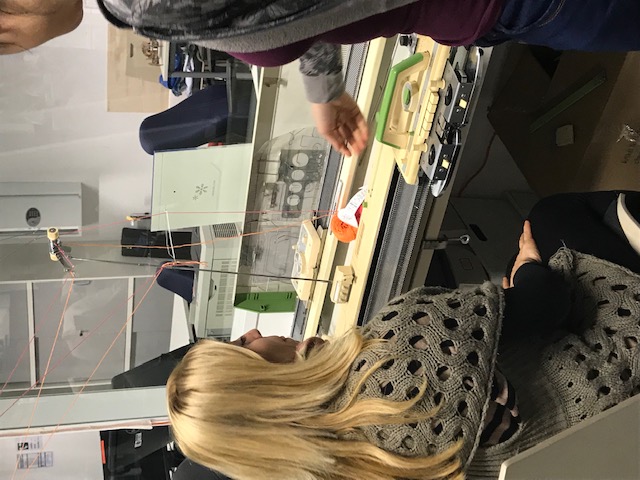
Knitting machine, how dies it work?, there are special needles in the knitting machine with hocks, which open if the ship is coming the yarn is moving down and the hock close again and waiting the next yarn.
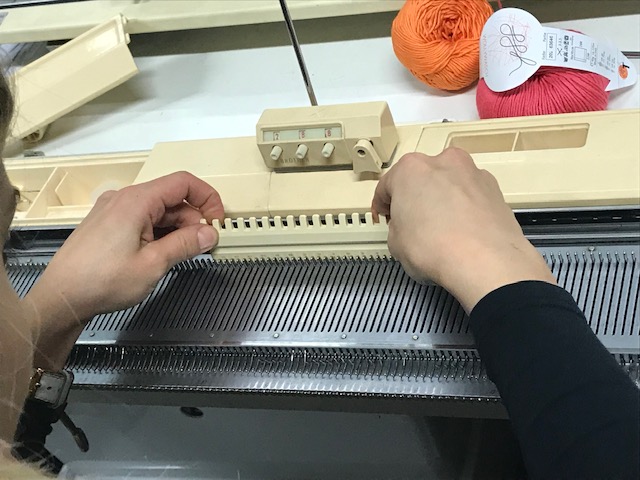
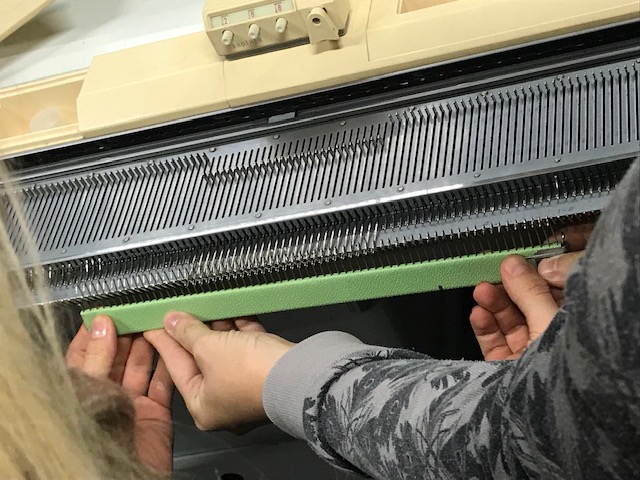
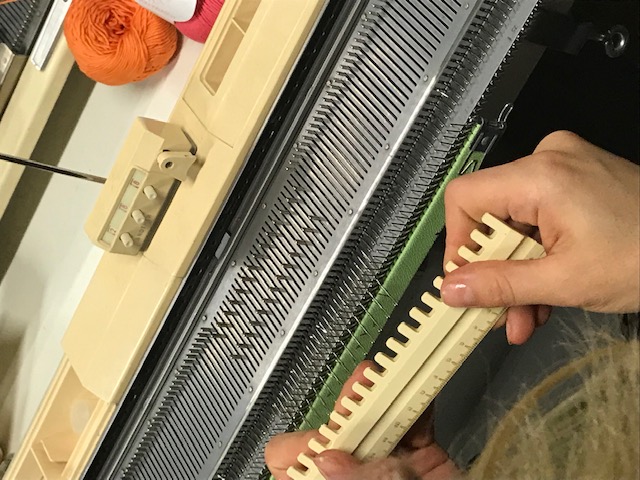
Threading: first the threads had to be threaded into the machine. To do this, take the thread at the top of the bracket and guide it to A.
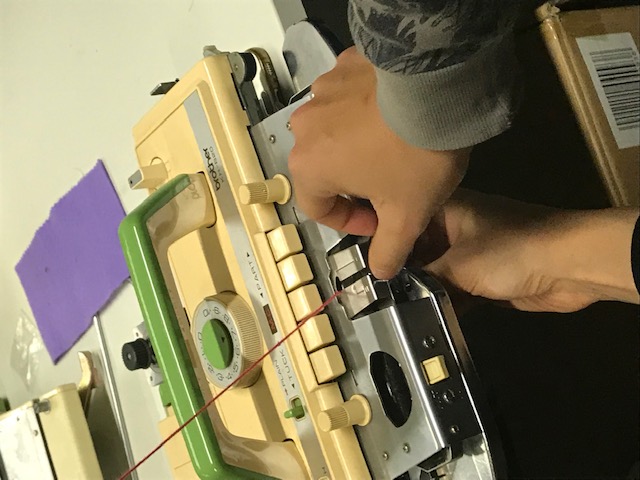
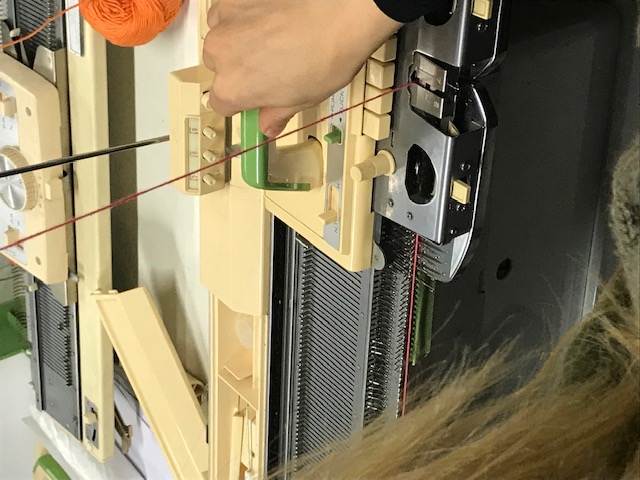
First, a range of needles is separated, by this we define how big will be the knit piece later. To do this, push a few needles with the white comb upwards. And then the half of the needles to a certain height which can be read off the machine. It is important that they have a certain distance to each other. Then you put the boat for the first row. The thread must be held continuously. After the first time back and forth the boat is changed again.

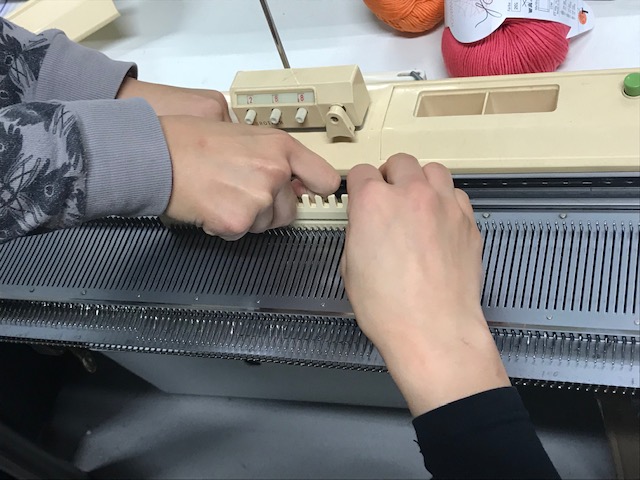
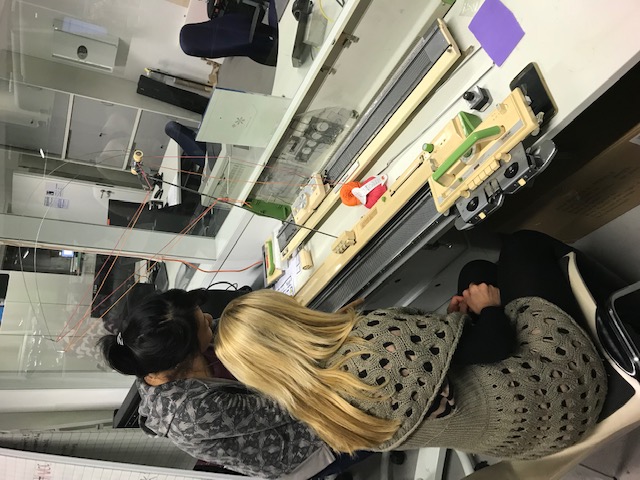
The knitted must be weighted to make it even. After pushing back and forth a few times you can see the result
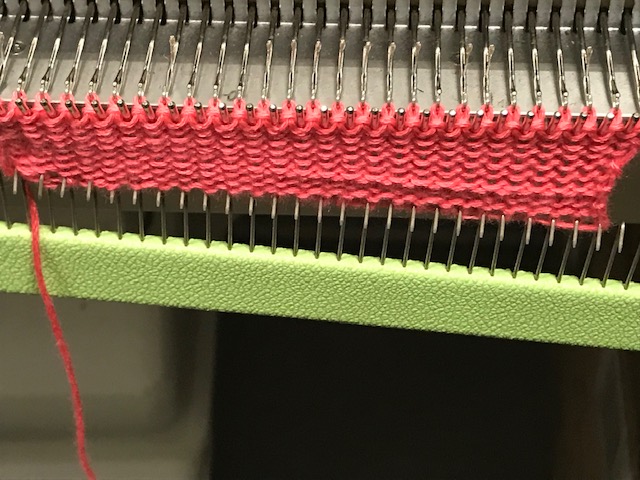
You can also insert patterns. To do this, you enter the selected pattern in an extra feed. The feeder must first be unlocked otherwise it will not work.
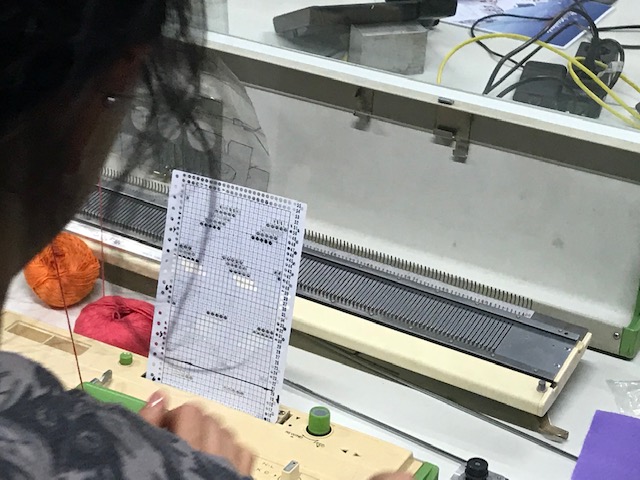
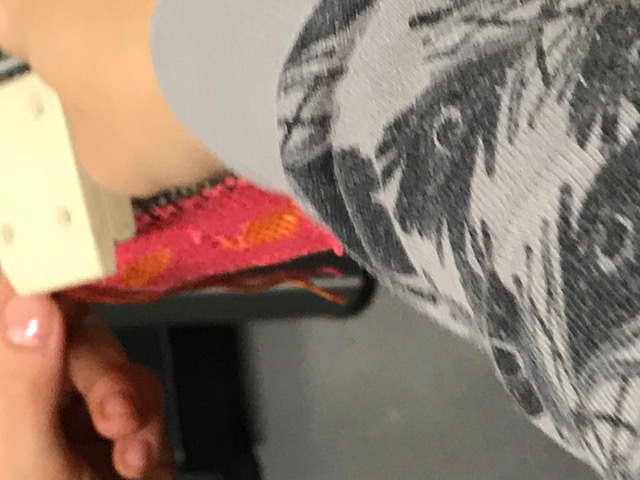
If you want to add a yarn that is needed for the pattern, thread it into B. What can be done? in 6 month a knitting machine was made by someone with just 3D printed pieces!
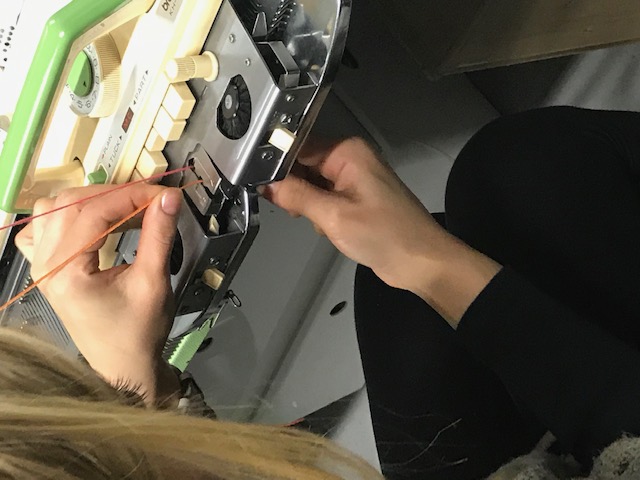
Here you can follow the process of the knitting machine