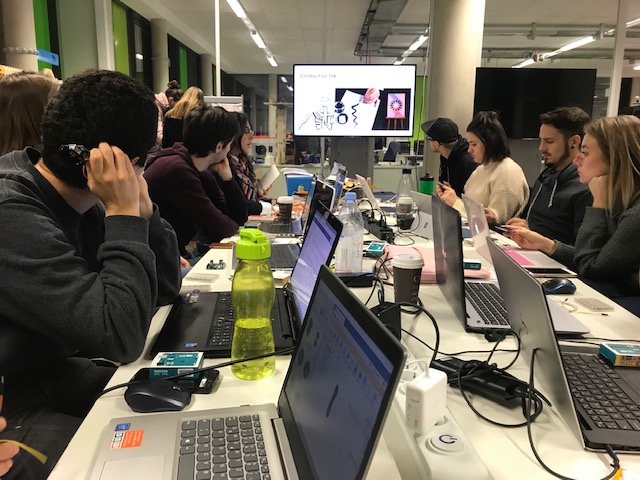
Week 7 Introduction to electronics, Introduction to Arduino
This week, we were introduced to a few projects that we saw through YouTube links. Then we talked about our ideas and future projects. There were many different ideas that the participants of the interdisciplinary project envision. From supporting tools to high-tech projects, the ideas were enough. During the time we talked about our projects, Liane produced small knits made of conductive yarn, which we later needed. Adriana has told us about batteries and circuits and what series and parallel switching means. We learned which transistors we need if you want to change more or less power or the distribution. On the basis of a T-shirt with an LED heart you could see the circuit well. The T-shirt has sensors and is powered by batteries that make the LED's light up. 
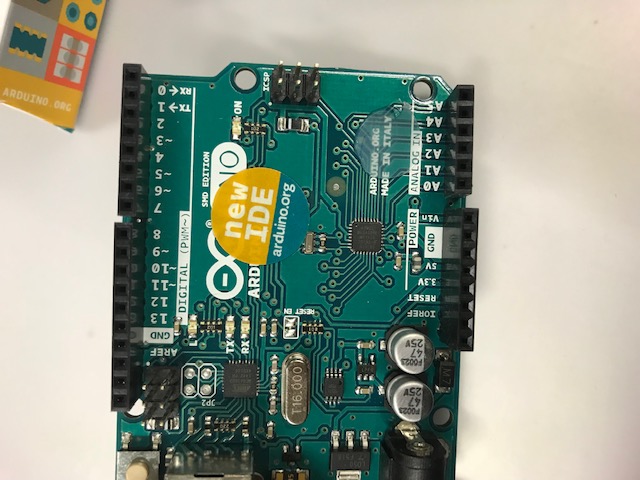
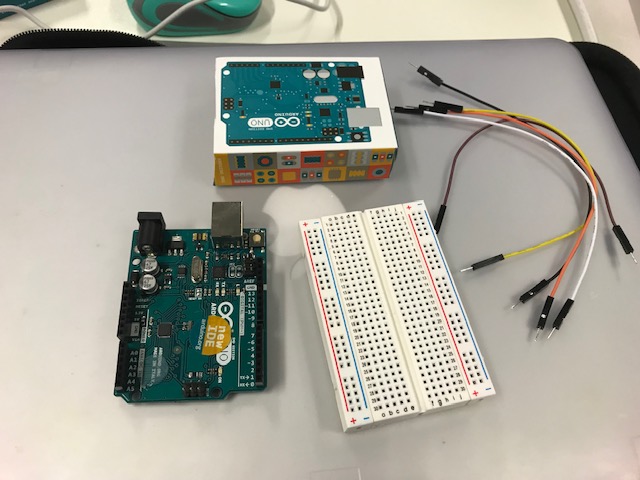
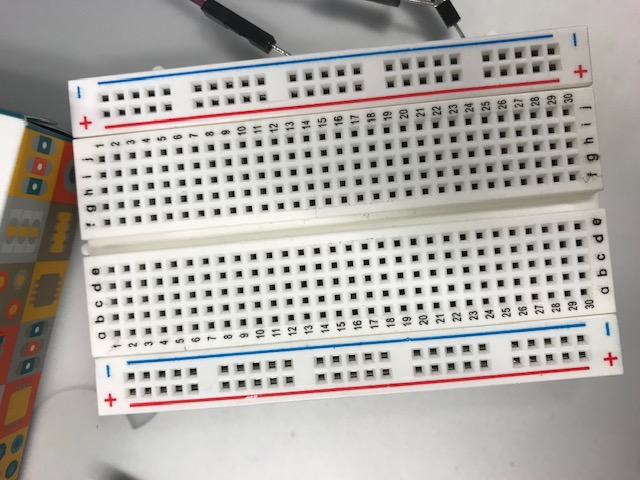
First, we tested with the piece of cloth, the liane had knitted before, whether the knitted piece leads and thus the LED lit up when we closed the circuit with a flat battery. Then we got foam which we should cut into two rectangles. Outside there were two conductive layers of fabric which were fixed with masking tape so that they do not touch because otherwise it can come to a short circuit. We were able to determine the resistance with the software. (Analog Read Serial)
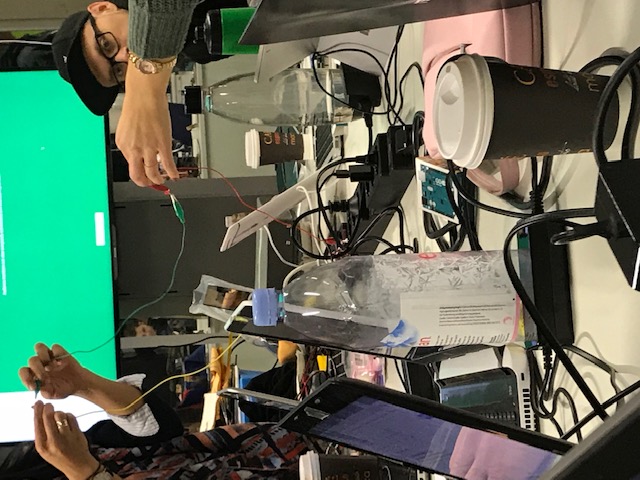
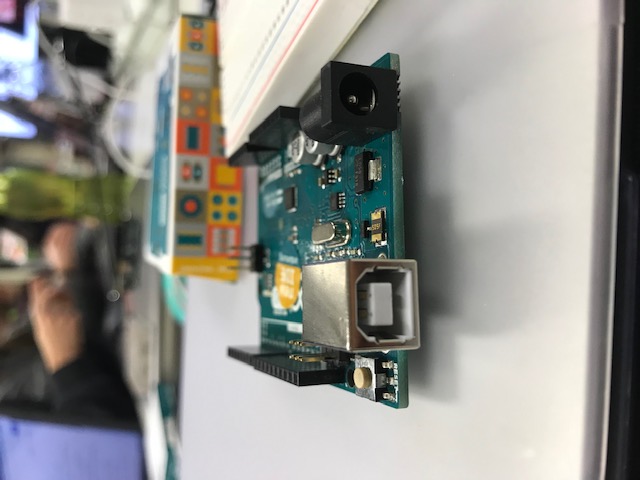


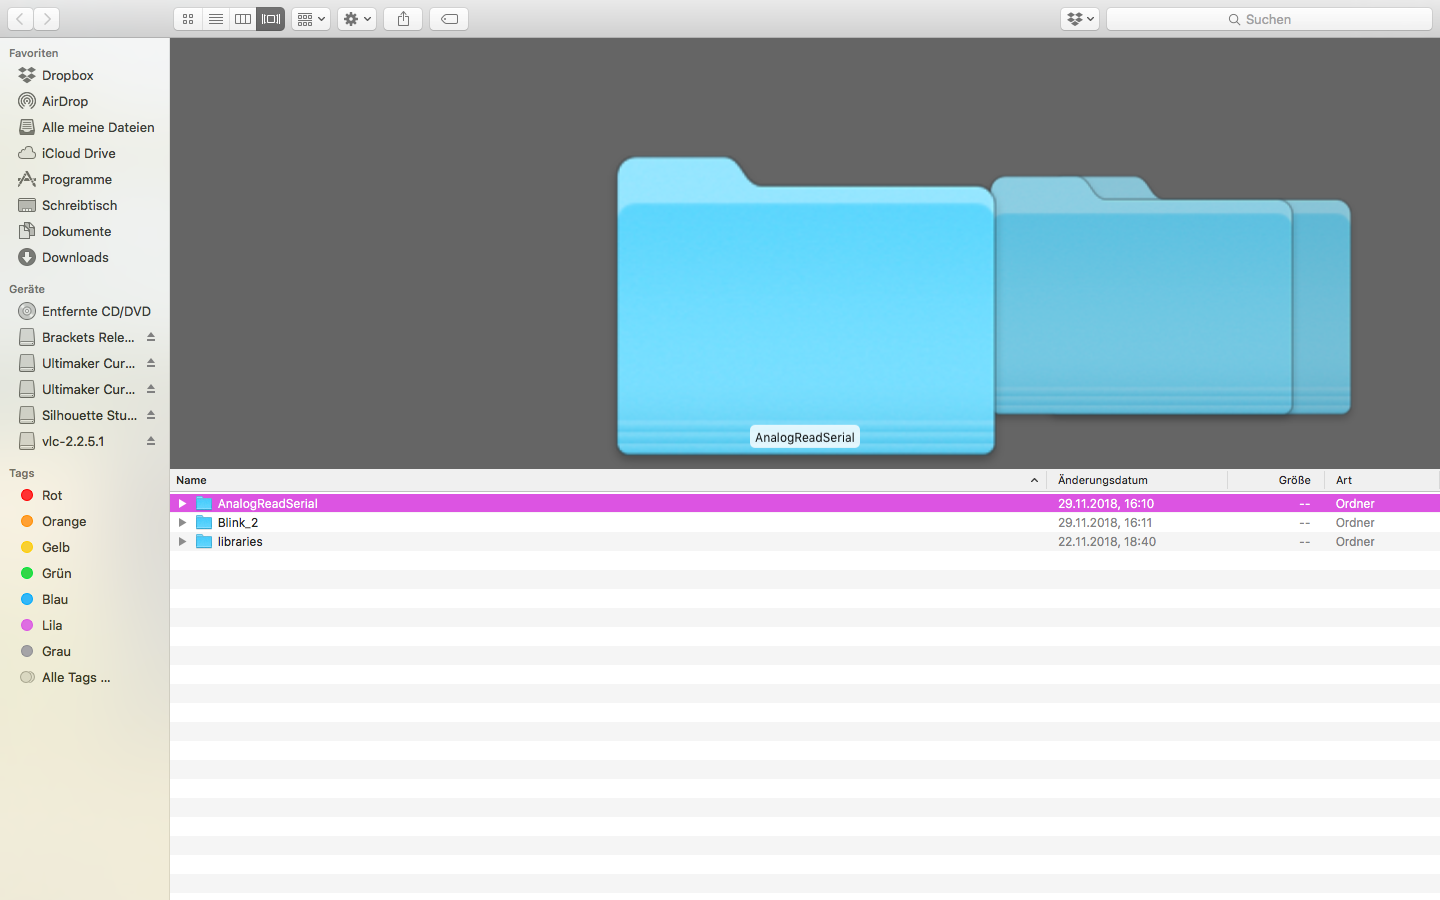

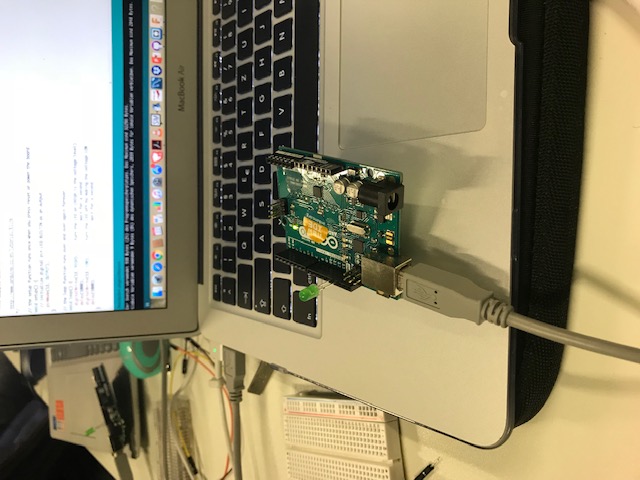
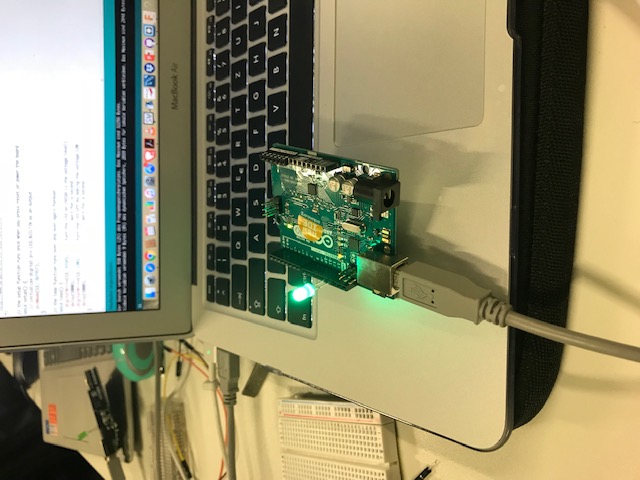
It works :) flashing light
 >
>