Week 6 Laser Cutting, Introduction to the Electronics

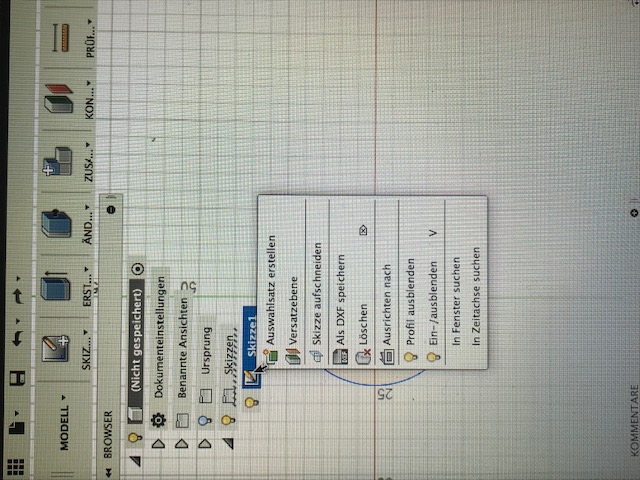
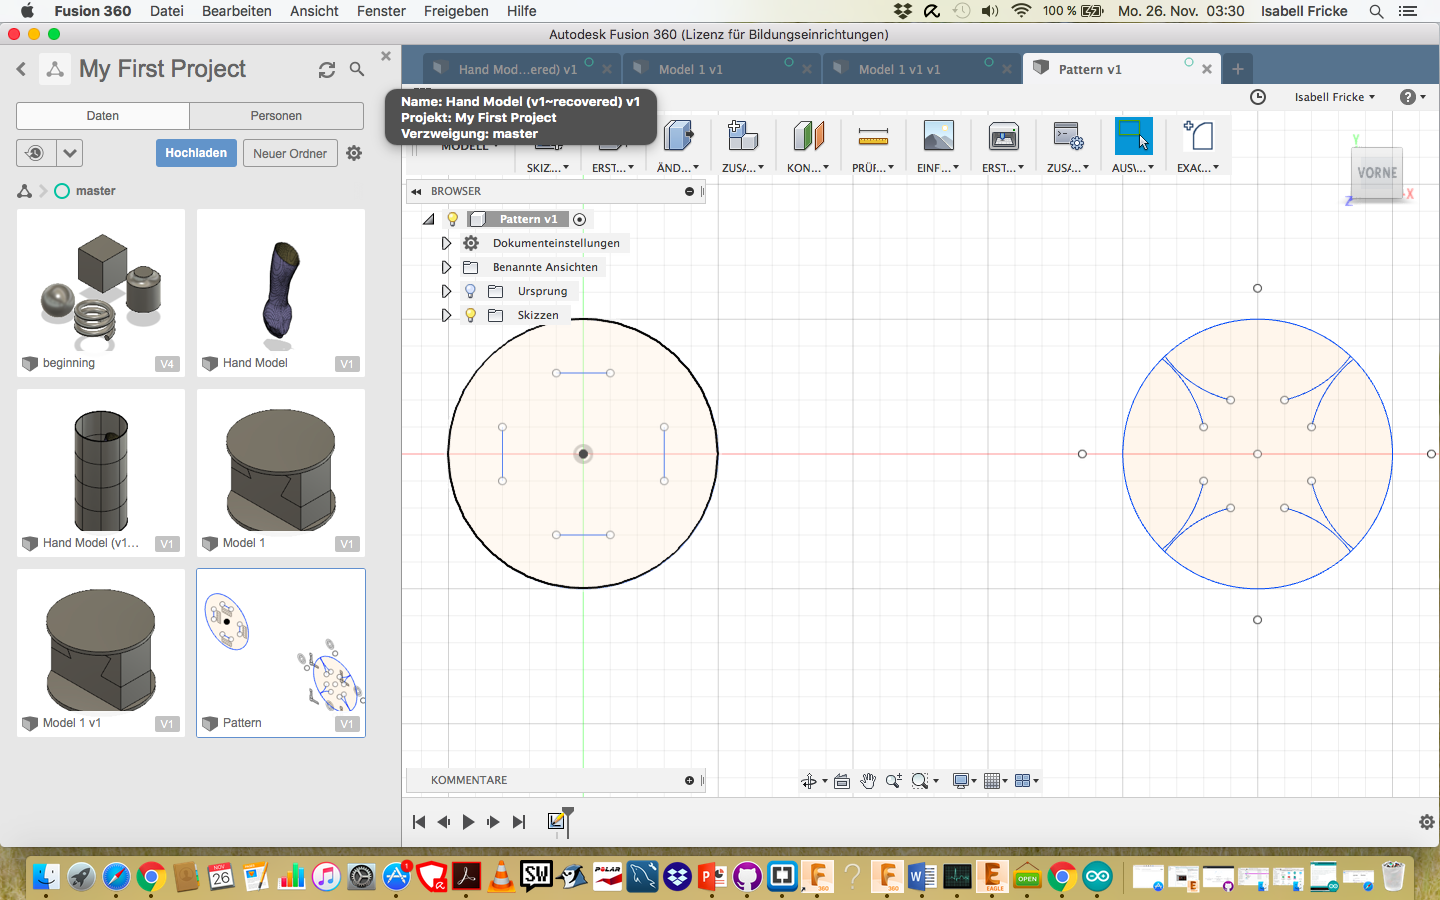
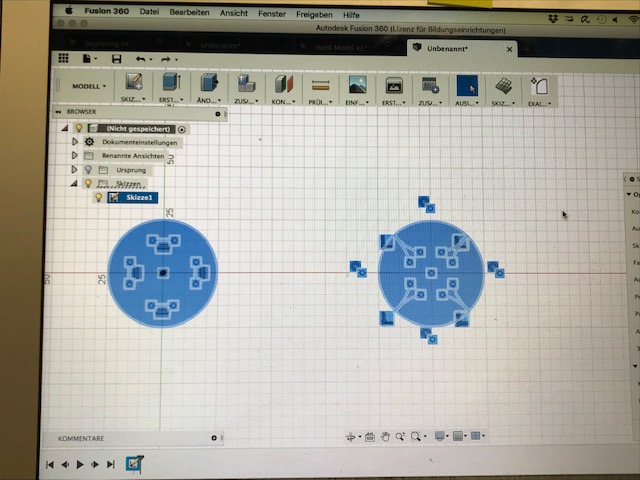
In the sixth week of the Interdisciplinary Project Fabrication for Care, we continued to work on our 3D models. The hand model can be used for different purposes. On the one hand you can create an orthopedic splint out of it, on the other hand you could also use it as a form for an artificial hand (arm) where in the end the electronics are installed. After being briefed by Adriana on the different usage methods, we created our samples (with fabrics or leathers) with Fusion 360 and cut them out on the laser cutter. First, we create our pattern in Fusion 360 °. This is relatively easy in Fusion simply select a circle and drag it to the desired size. Then use the tools lines (curved / straight) to edit the places that the laser cutter should later cut.

Model Fusion 360 Model Fusion 360

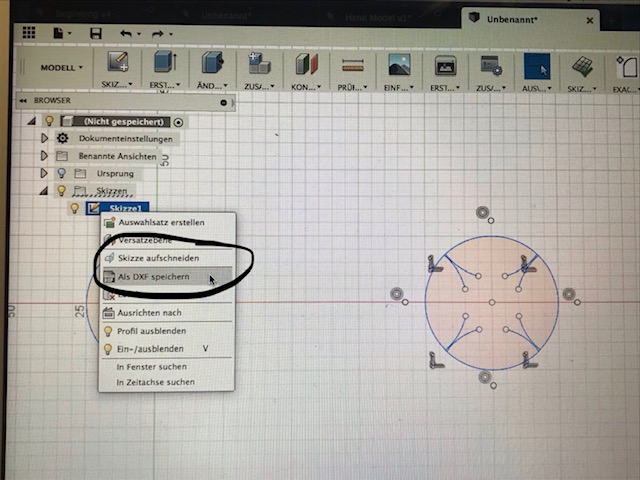
In fusion we have to save it as DXF and put it on an USB stick to cut it in the laser cutter.

Model Fusion 360 Model Fusion 360

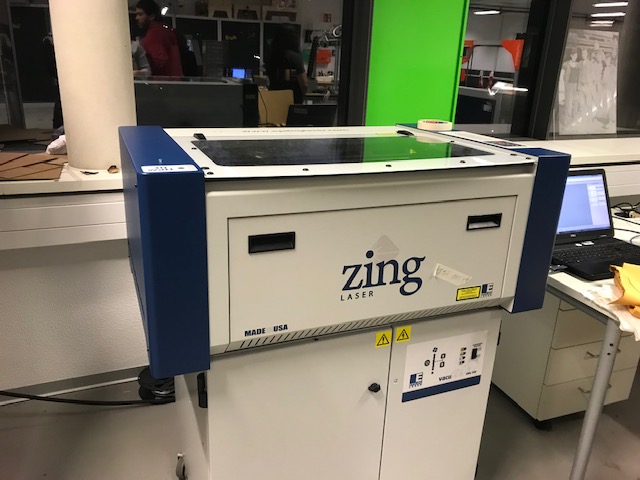
To cut a pattern, you first have to make various settings on the laser cutter and on the PC.

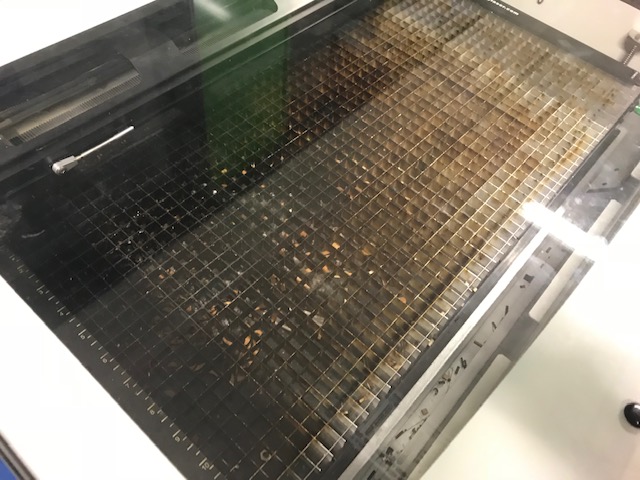
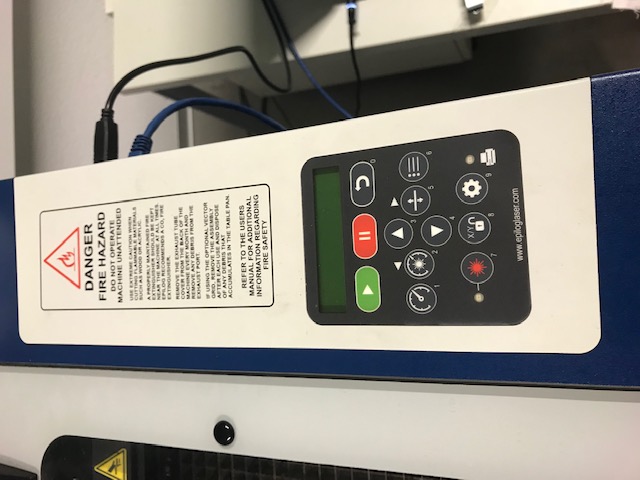
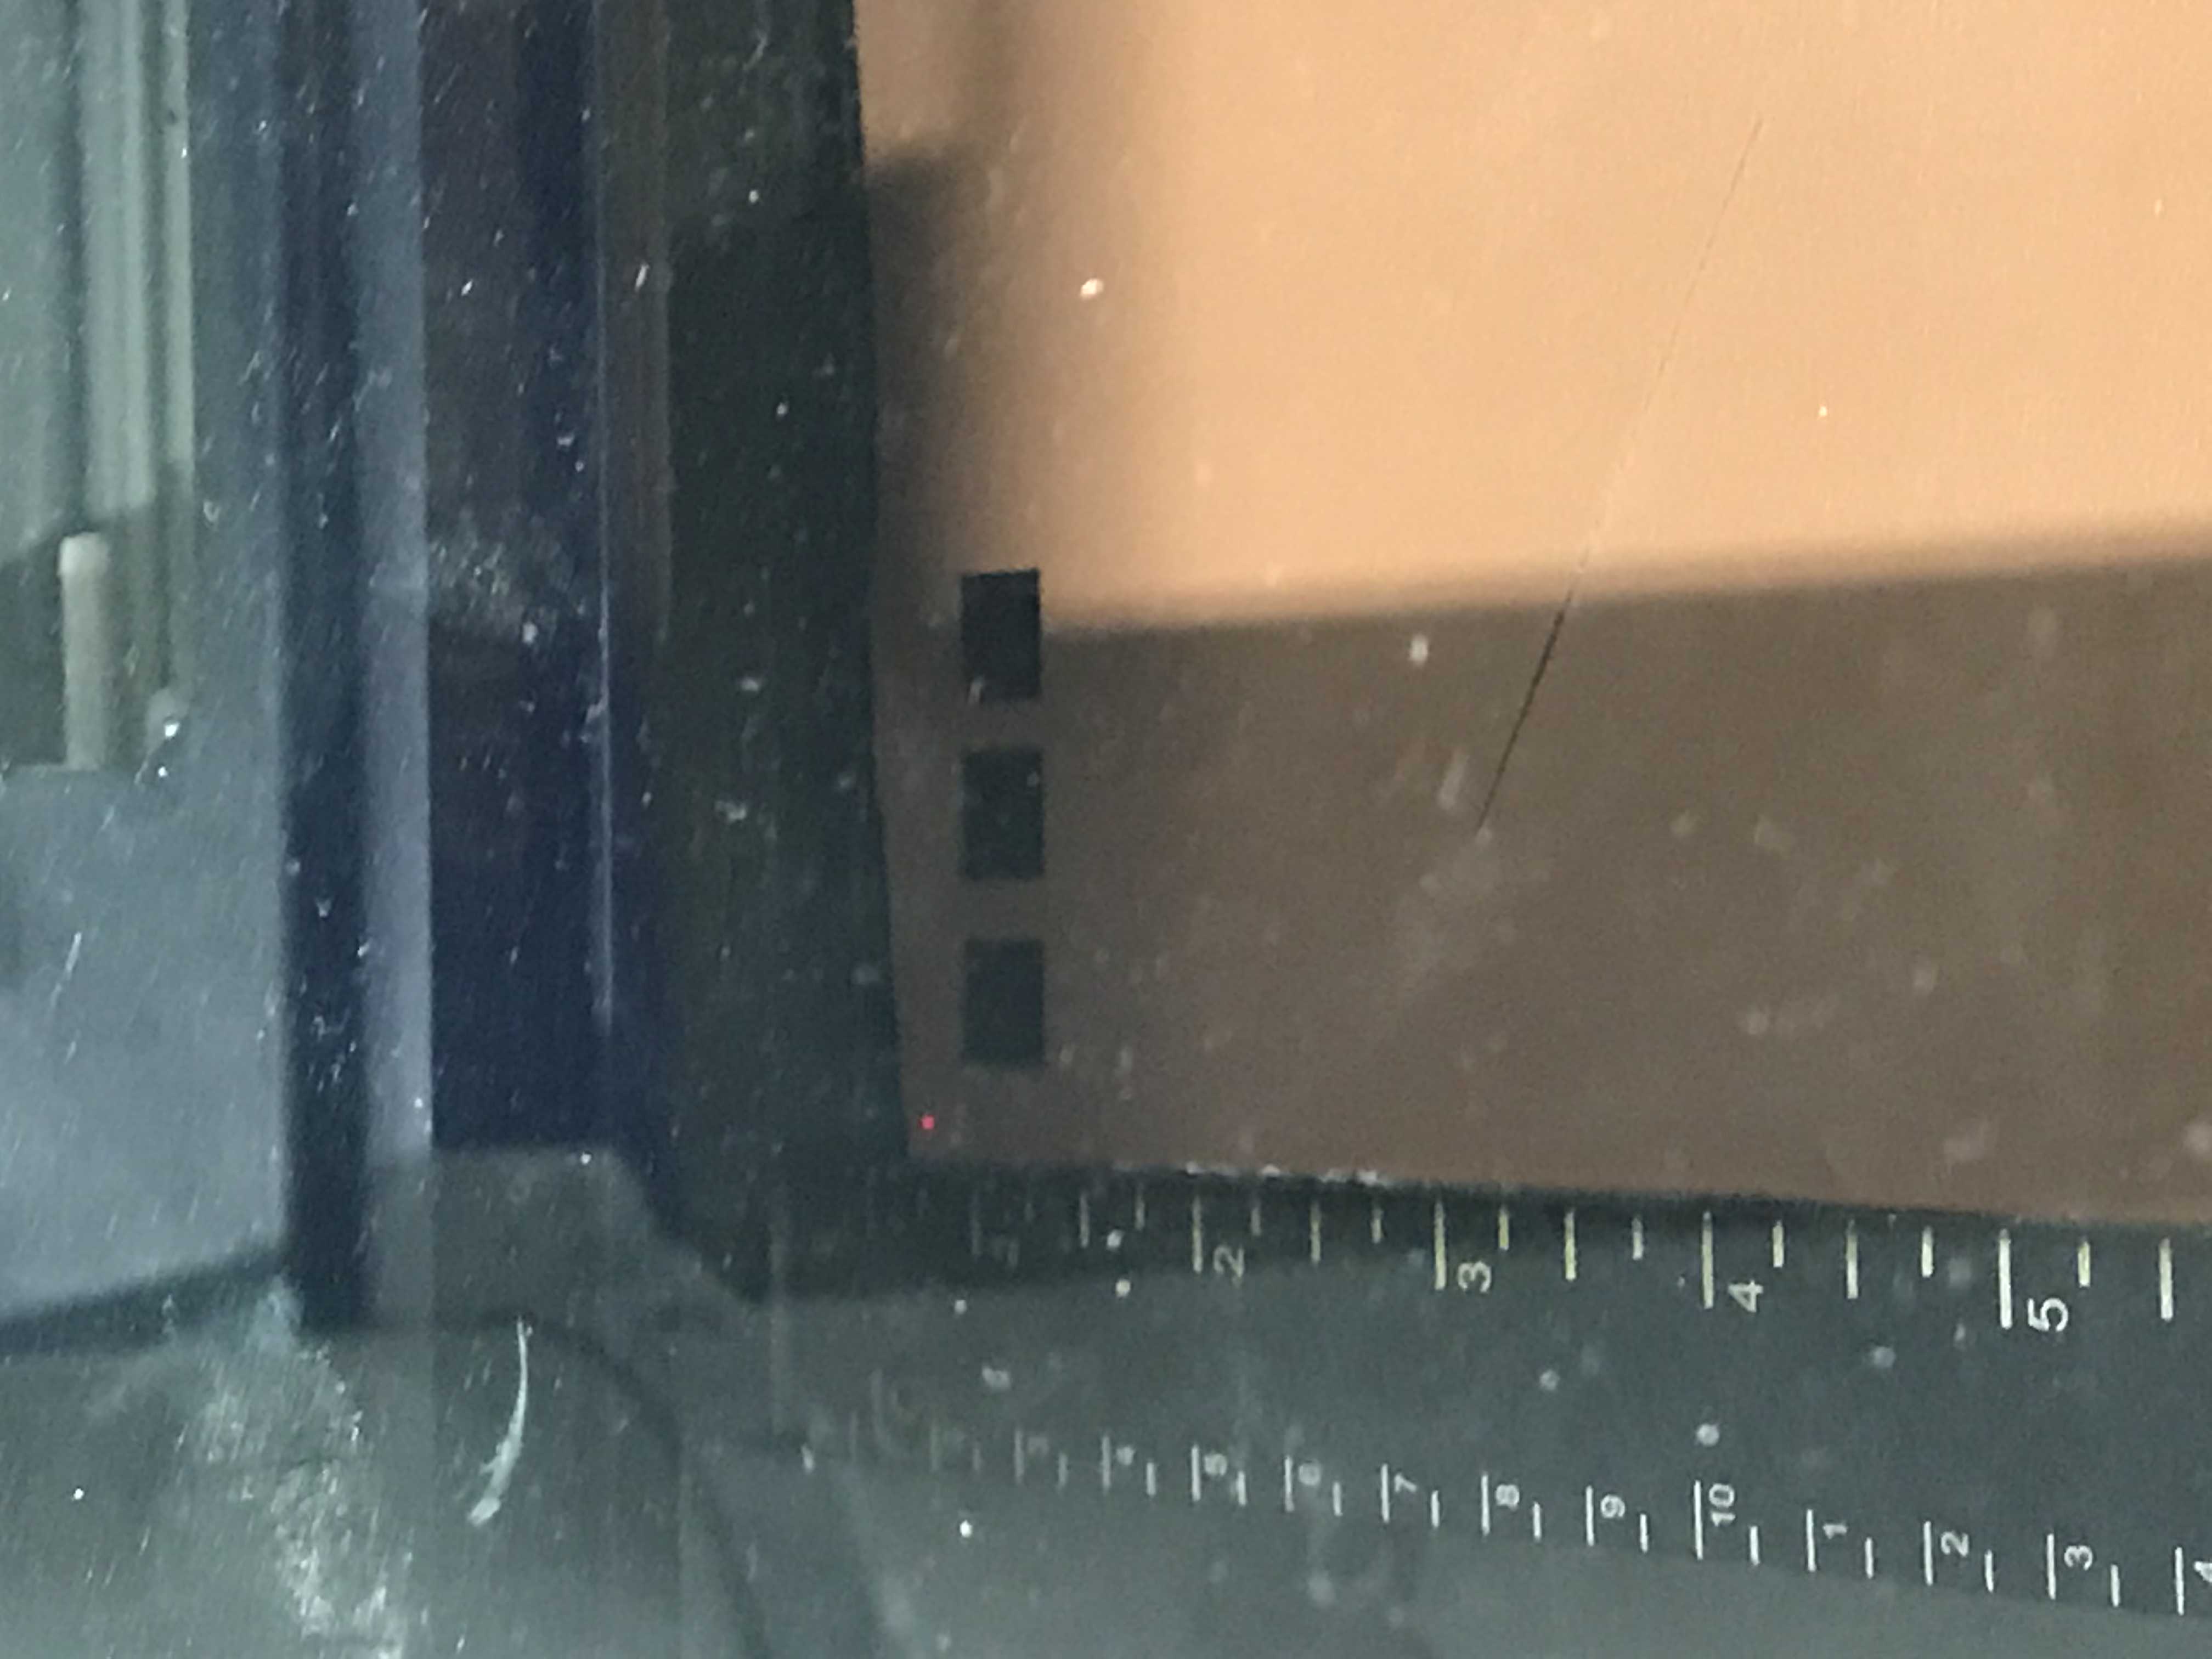
First, the laser cutter must be opened and the button with the lock pressed. This leads to the fact that you can move the device manually. Next, the laser starting point must be calibrated. To do this, press the red button on the Lasercutter control panel and the red dot will appear on the fabric that was previously inserted into the machine.

Model Fusion 360 Model Fusion 360 Model Fusion 360

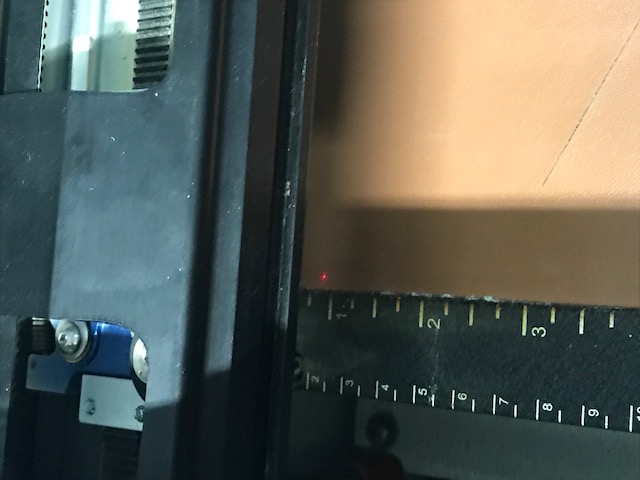
Next you move the point to the place of the fabric where you want to start with the pattern. It is best to look for a spot on the edge to save as much as possible.

Model Fusion 360 Model Fusion 360

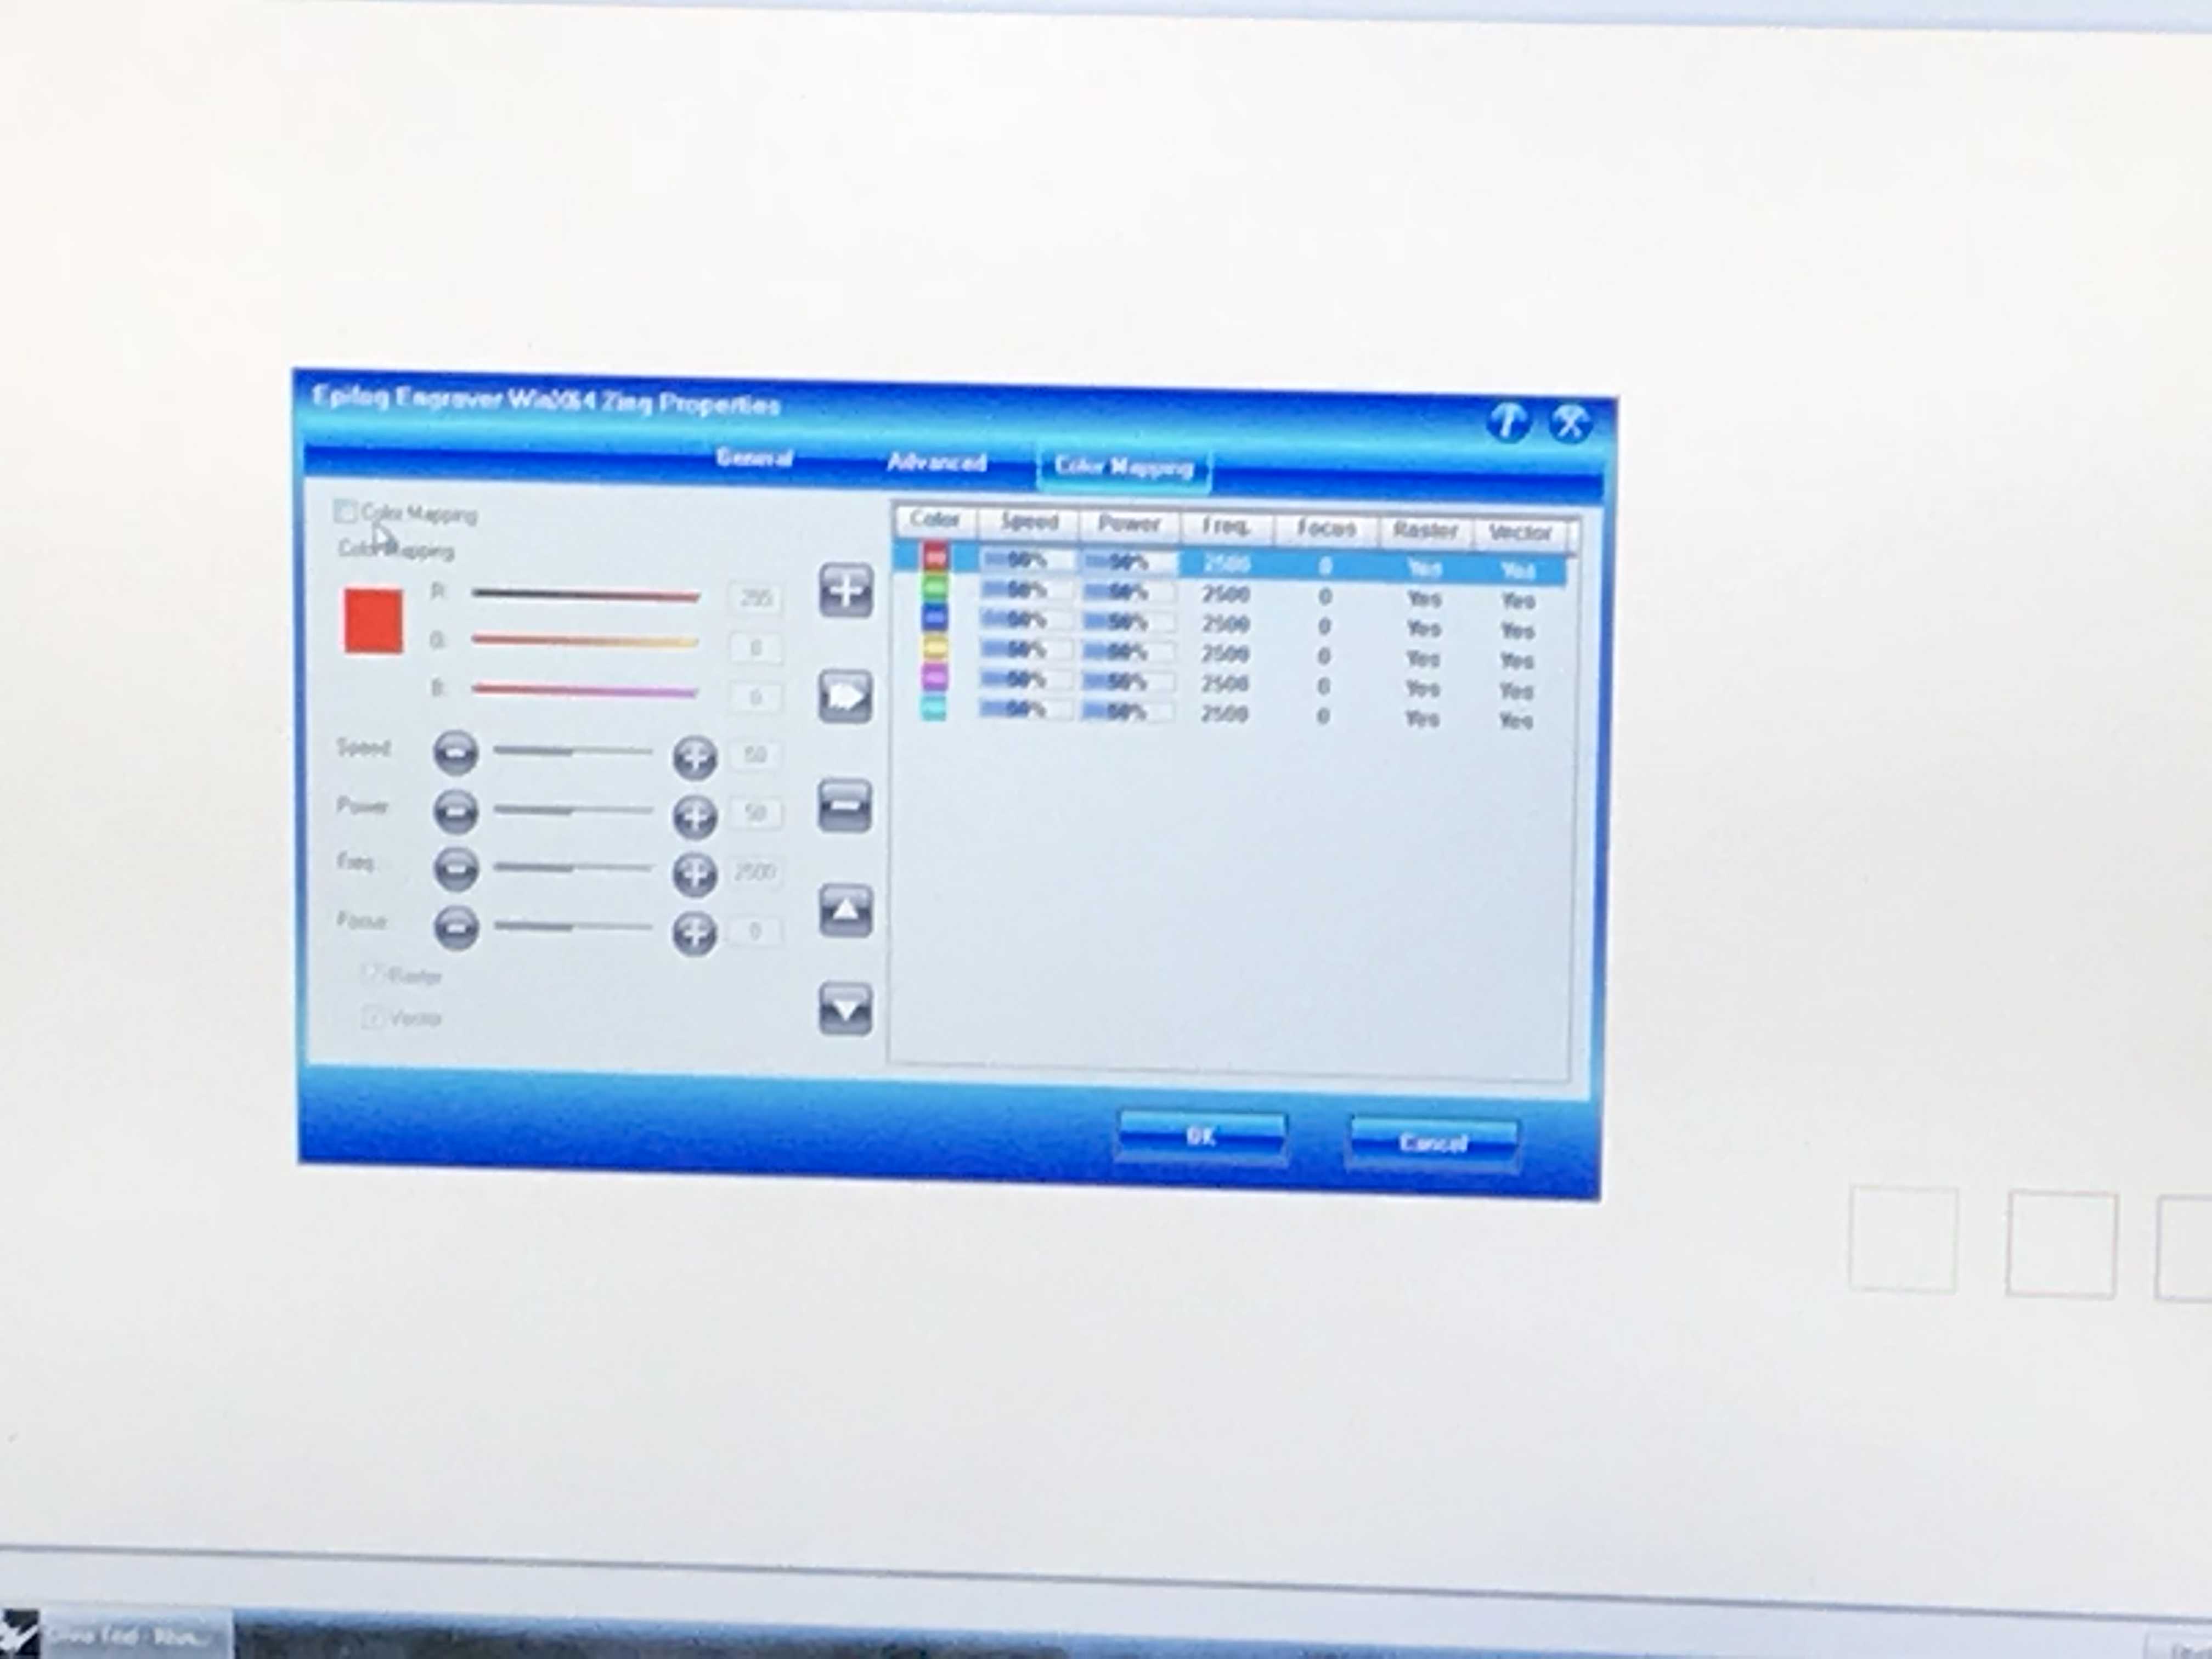
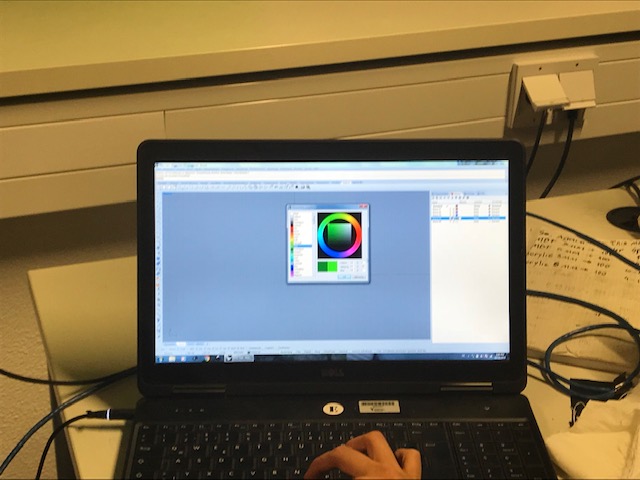
Very important!! Watch out! The vacuum must be switched on before cutting! First of all, you program the cutting thickness, that is, with which power the laser should cut through the fabric or maybe even just scrape it. On the picture you can see one of the boxes to set. Because the laser cutter can cut in different intensities (different materials require different cutting power). Therefore, you set the box in our case to 60. Then you make a test cut. You can see if the material turns black. If this is the case, the cutting edge intensity is set too high and you have to set less power. To do this, go to Settings and set the three different boxes in green red and blue in different strengths. Then you make a testcut.

Model Fusion 360

Once you've figured out the right amount of laser you can cut your pattern. To do this, go to File Print and drag its pattern into the print area so that the boxes from the test print are no longer in the print area.

Model Fusion 360 Model Fusion 360

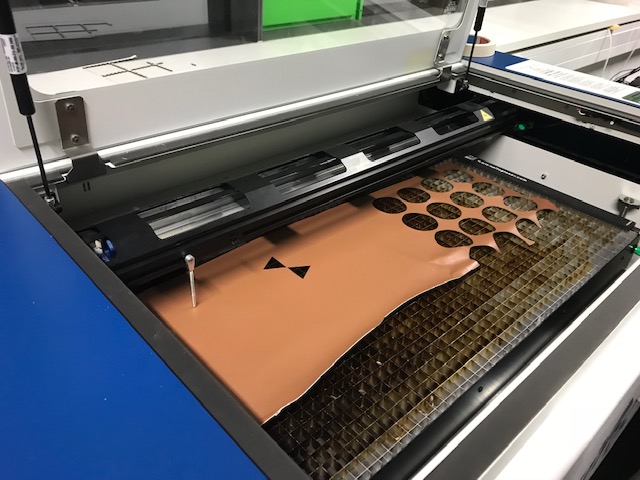
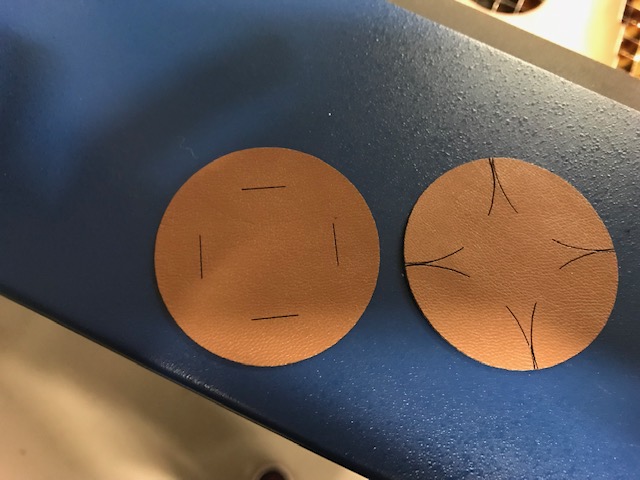
Then you can start with the actual pressure to do so, you just have to click on the print button and do not forget to switch on the vacuum beforehand. Then press on the device on play. 1 x Play the device moves without cutting the pattern again so you can check again if everything fits on the fabric. 2x Play is cut into the pattern. Once the laser cutter is done you can take your pattern and see how it has become. This was my final result from cutting my pattern. The individual pieces could also be put together. Thus chains or whole garments can be created by inserting the cut round part through the slot of the other.

Model Fusion 360

In the last 1 1/2 hours Adriana explained to us different methods how to deal with disabilities in everyday life when, for example, an arm is missing, you are blind or you are deaf. In the last half hour we should then consider different scenarios in groups and find solutions to the problems. So how it could make life easier for people with manufacturing for care.