Week 5 3D Laser Scanning, Modeling, Processing images and Cutting materials
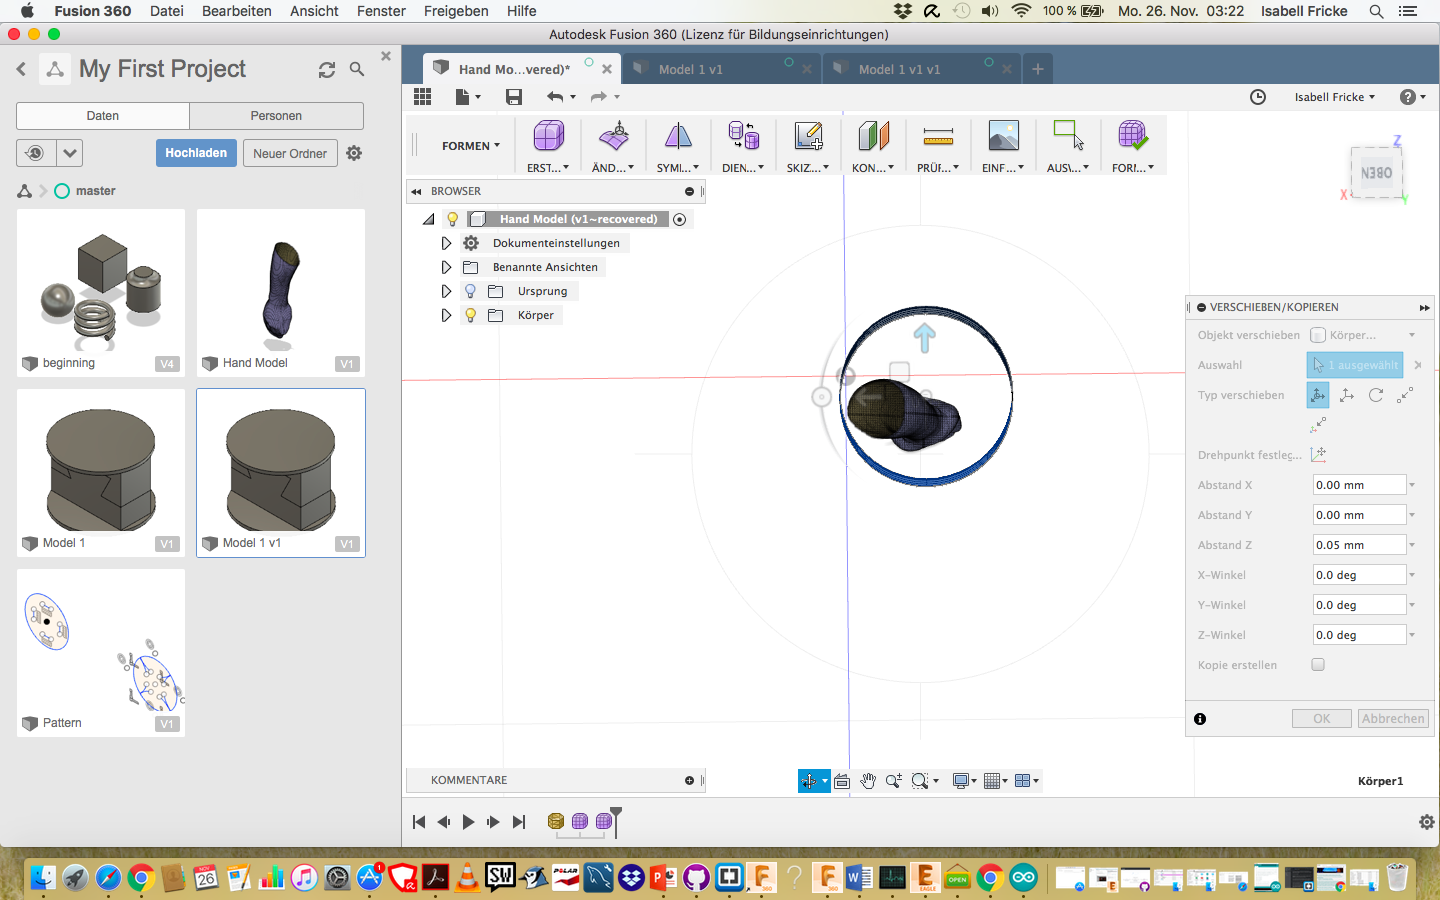
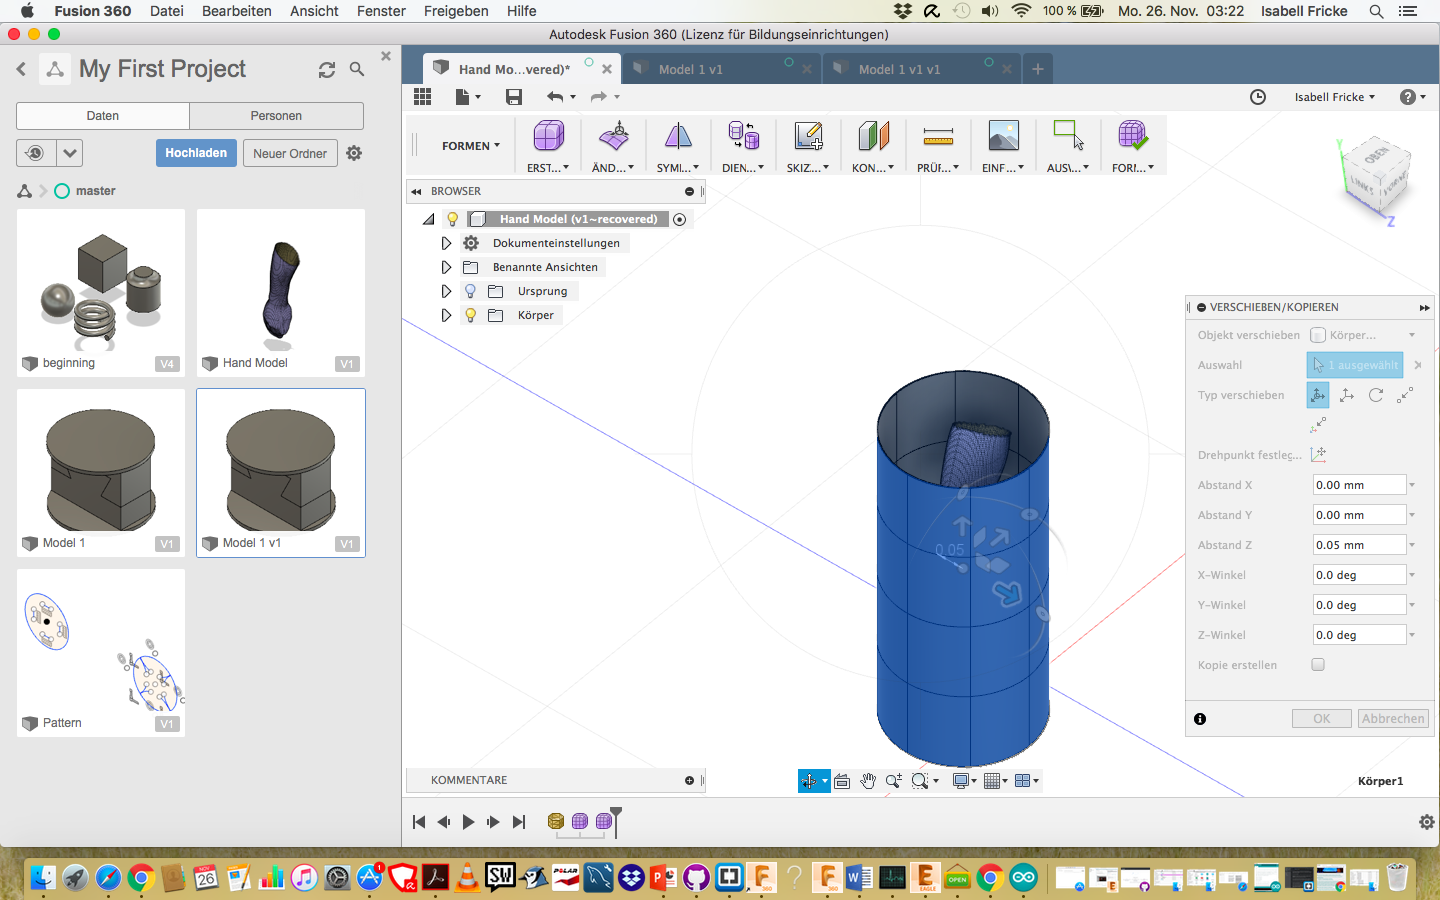
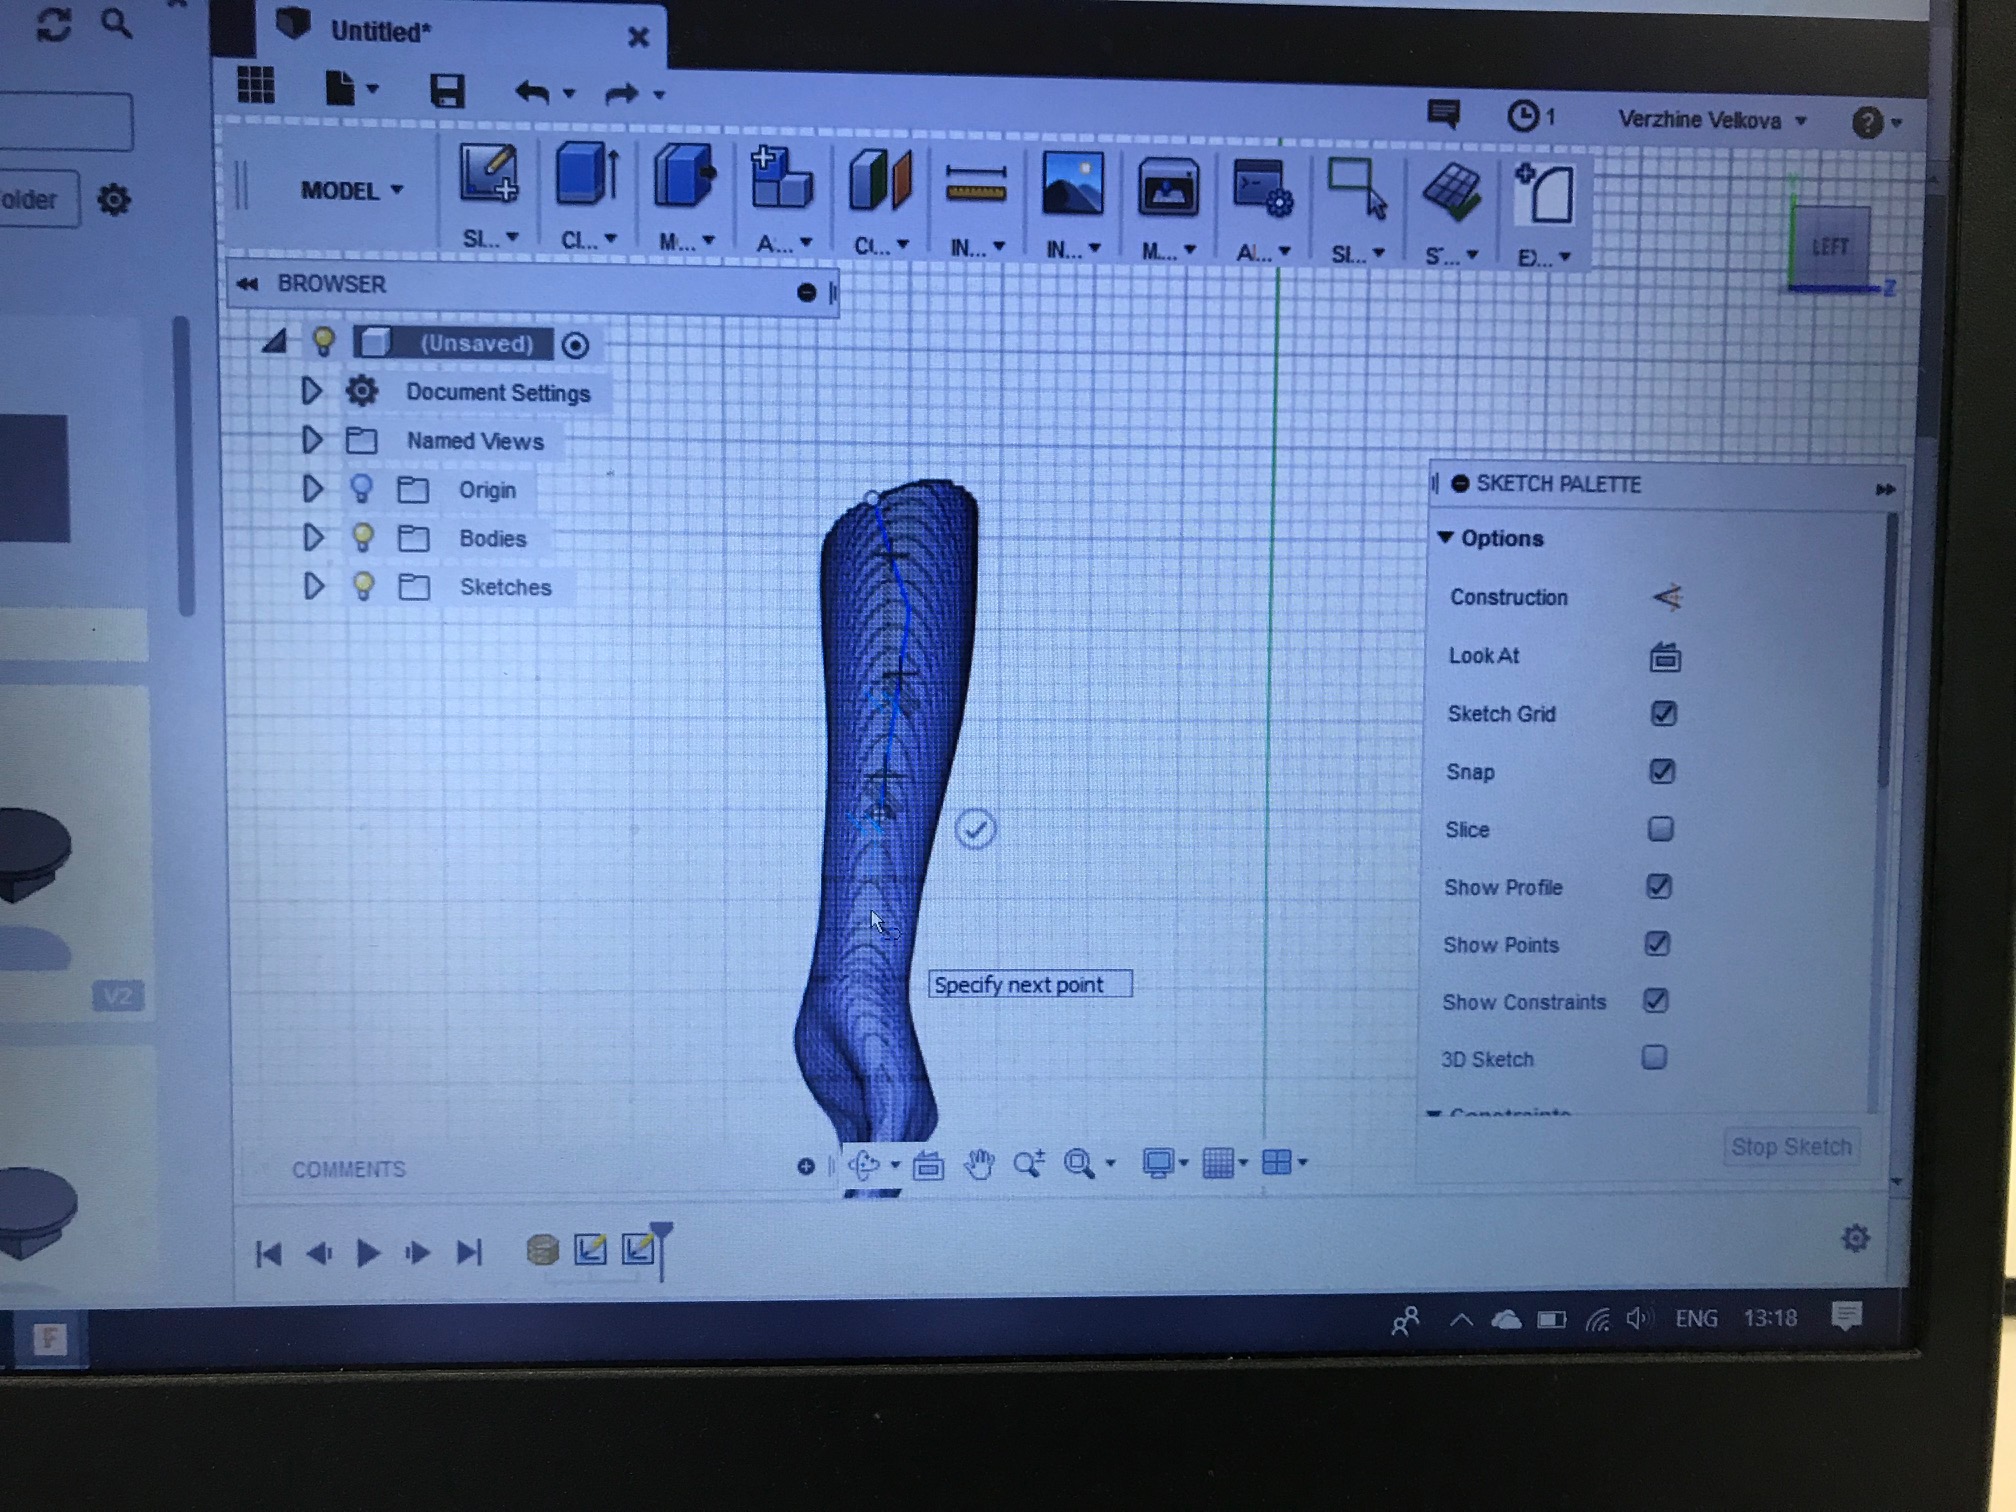
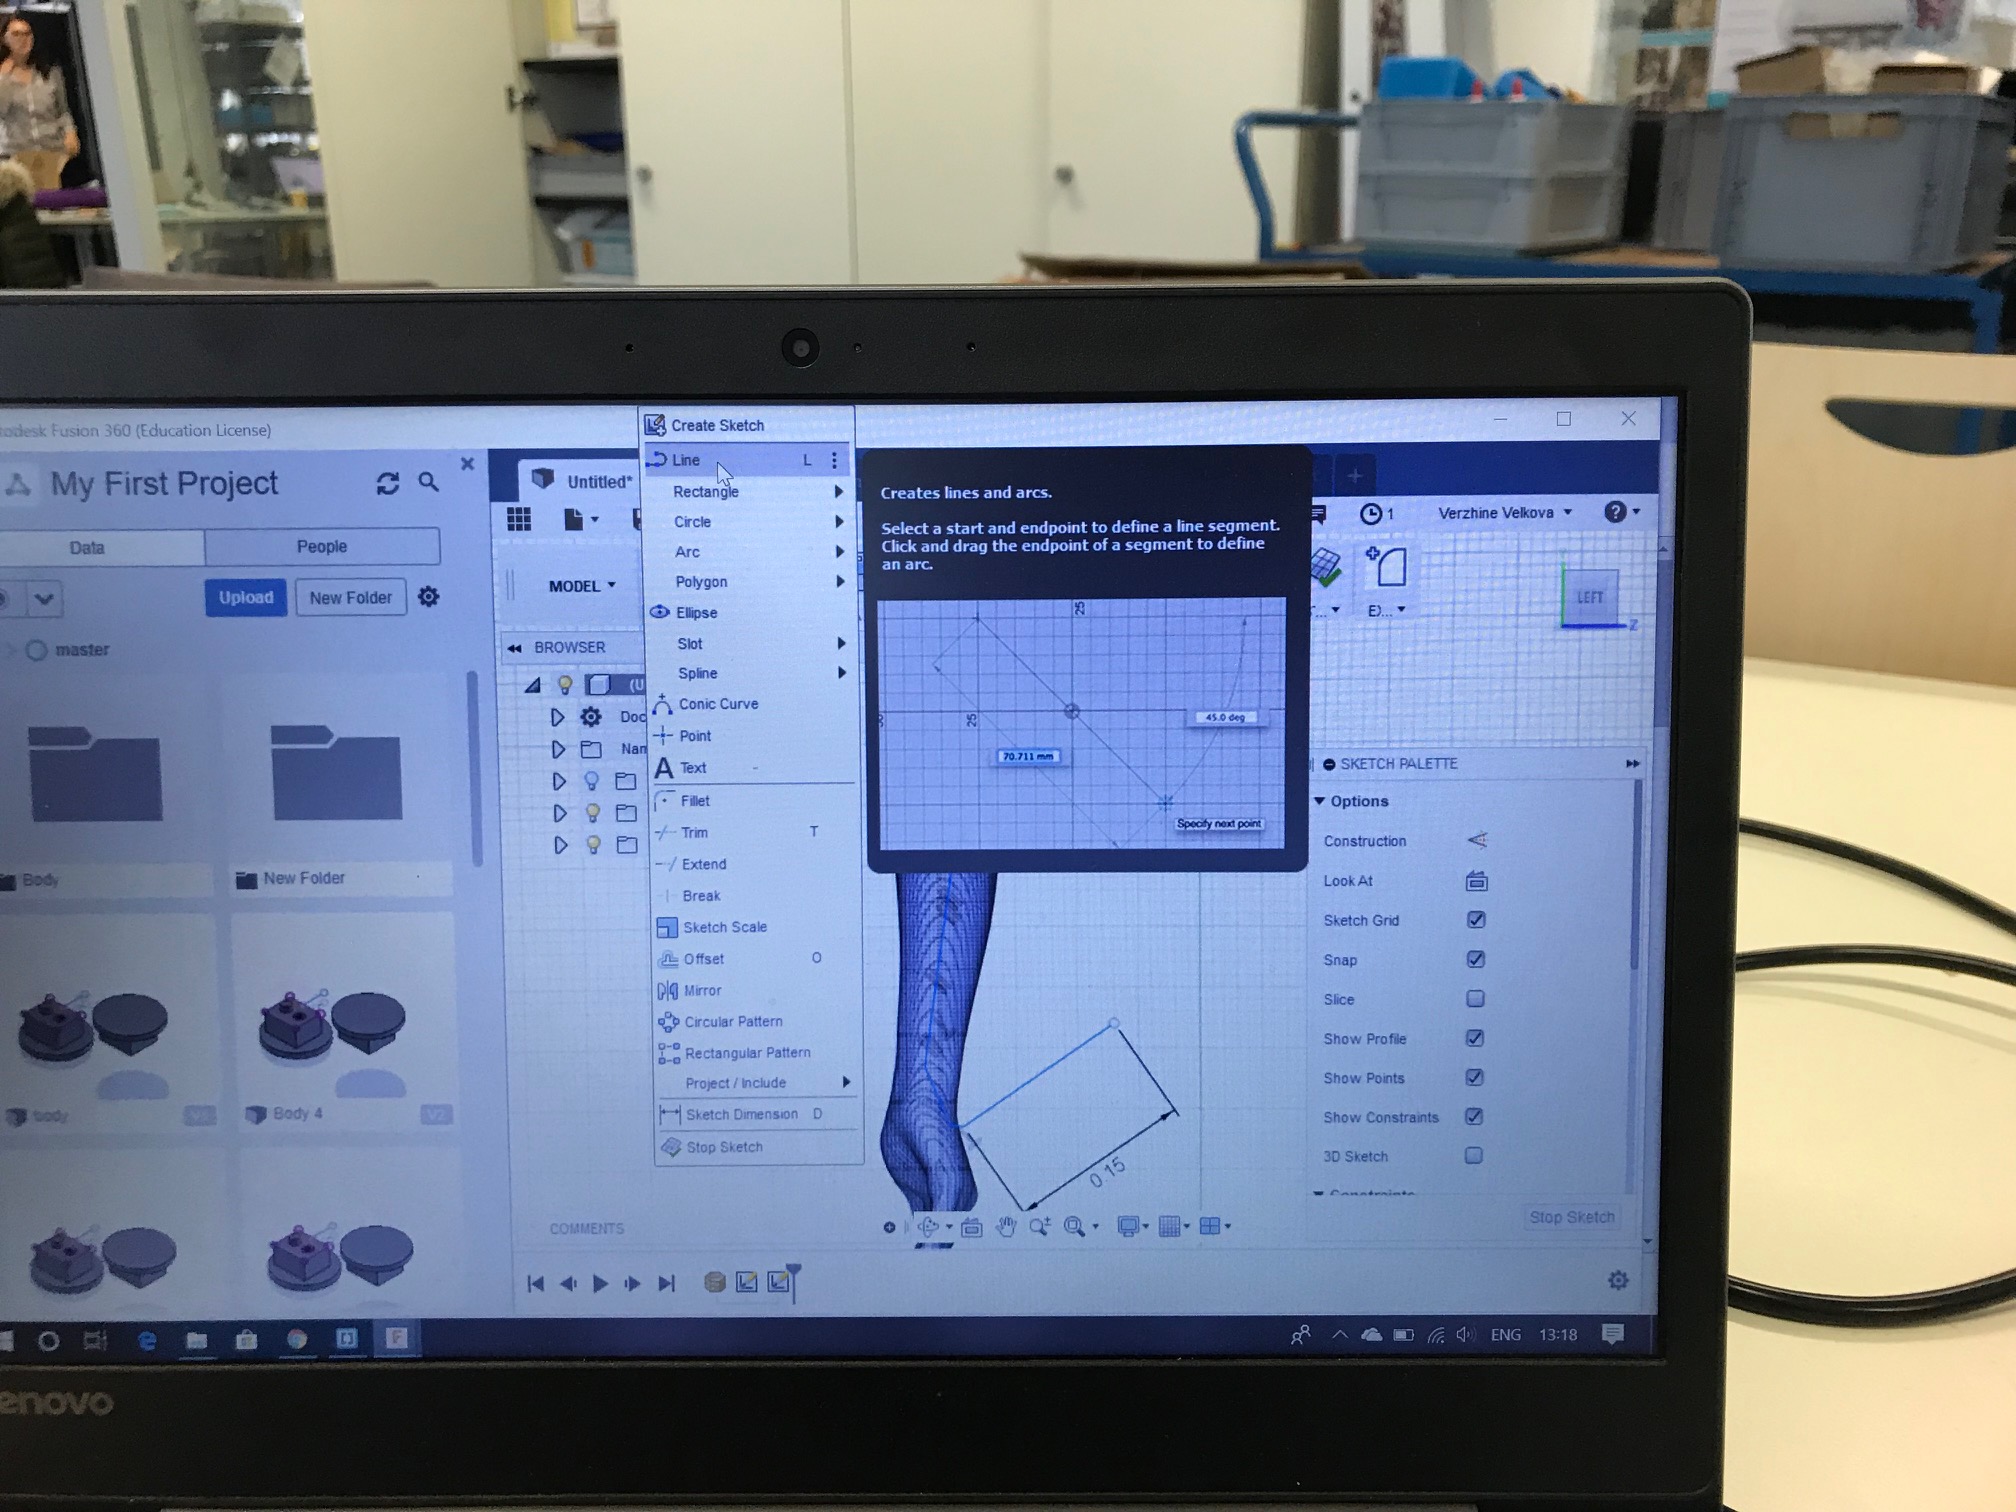
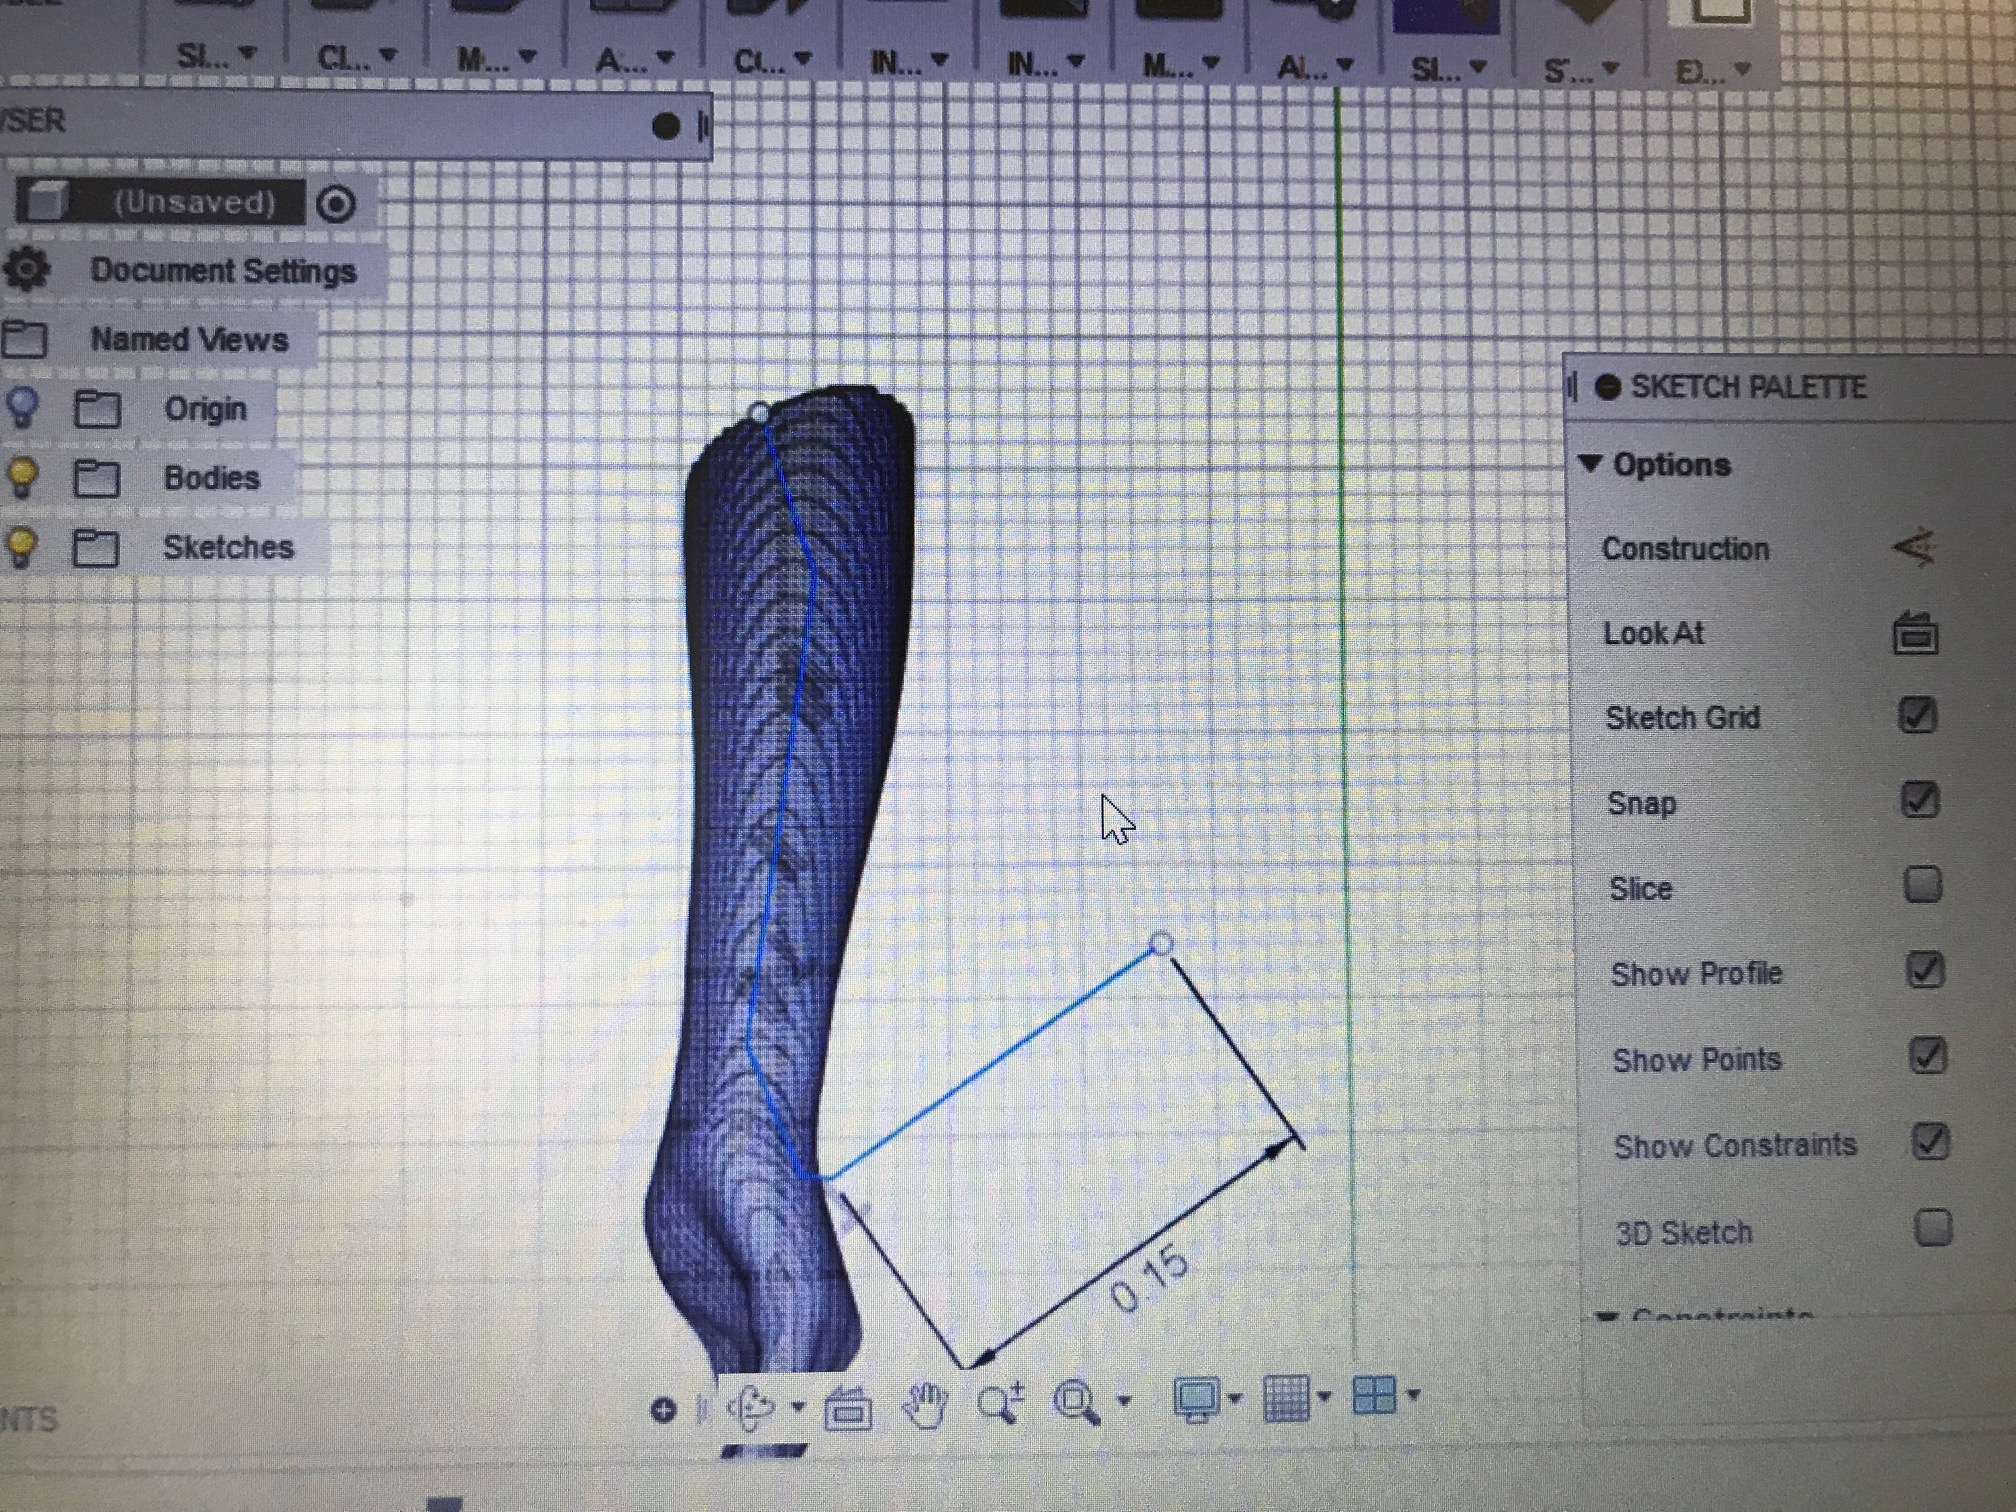
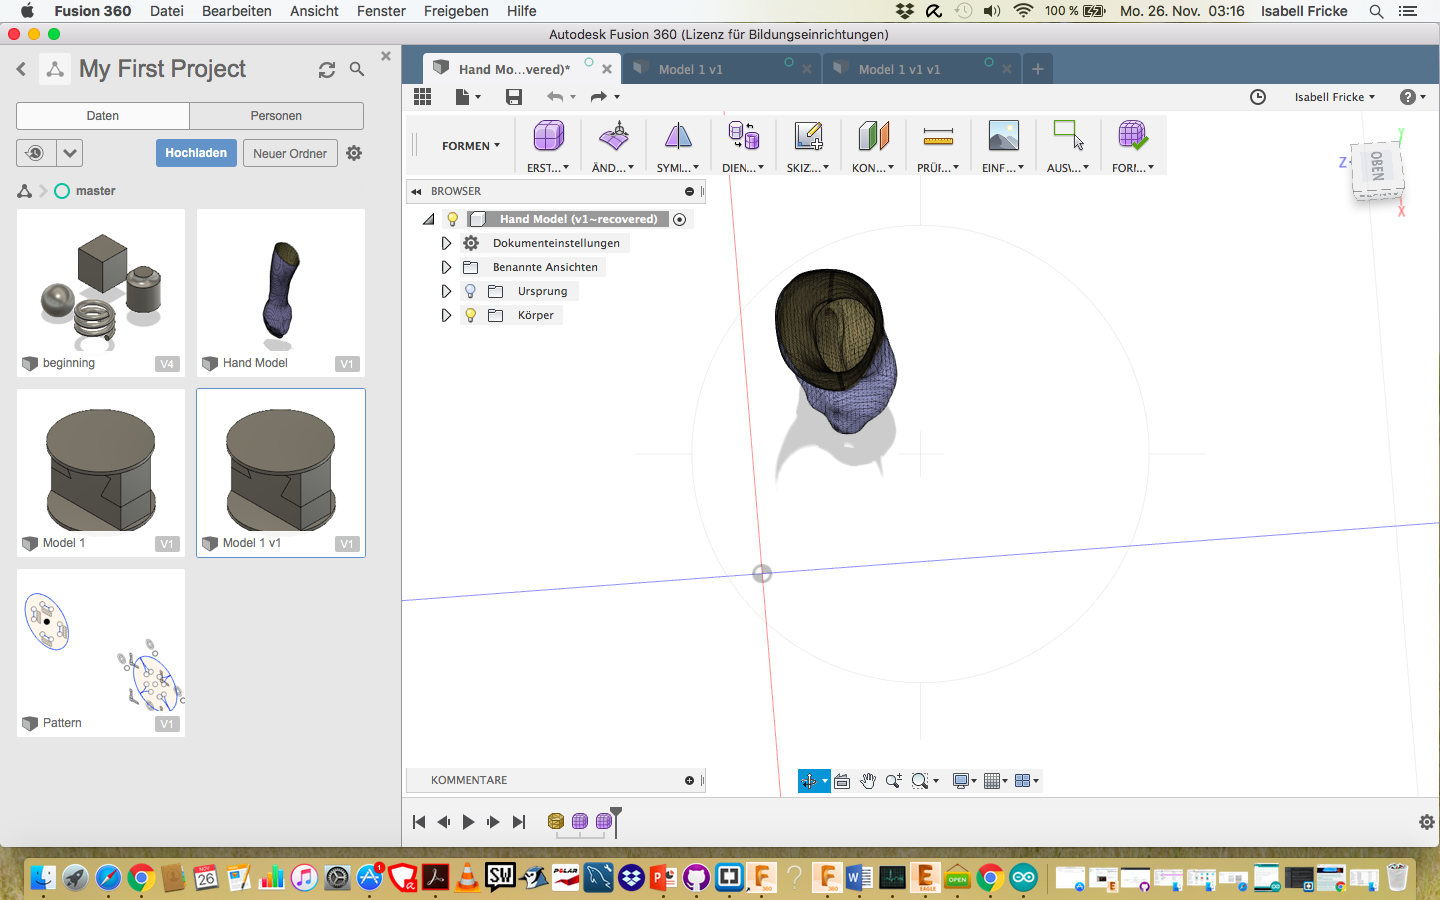
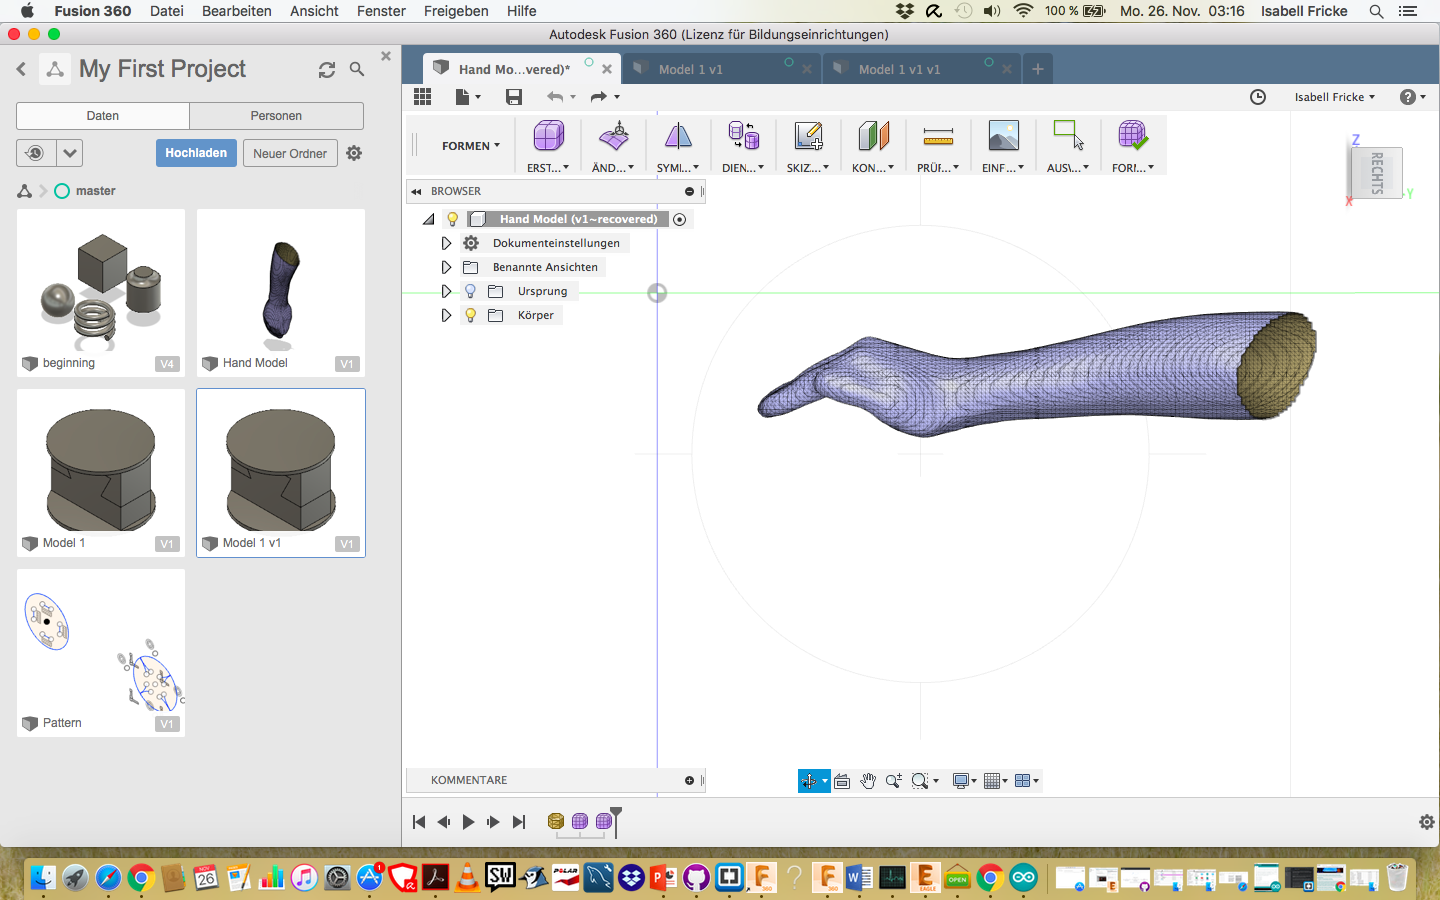
Demonstration of three-demensional laser scanning techniques with application in engineering practiceThis week we learn how to do a 3D scanning and editing these models. Also how to work on the scanned arm and cut it in the Fusion 360 °. With the software 3D scans can be edited and 3D printing can be performed. In addition, objects are also designed. A volunteer of our group was so friendly to scan his arm that we could work on it.


After scanning the arm we were shown how to modify the scan. The addition of the Fusion 360 ° Eagle and Meshmixer programs help to create the right format. So we could convert the file with Meshmixer.
Through the various programs we could change the representation of the models by using different constructions and modifying them in different ways.
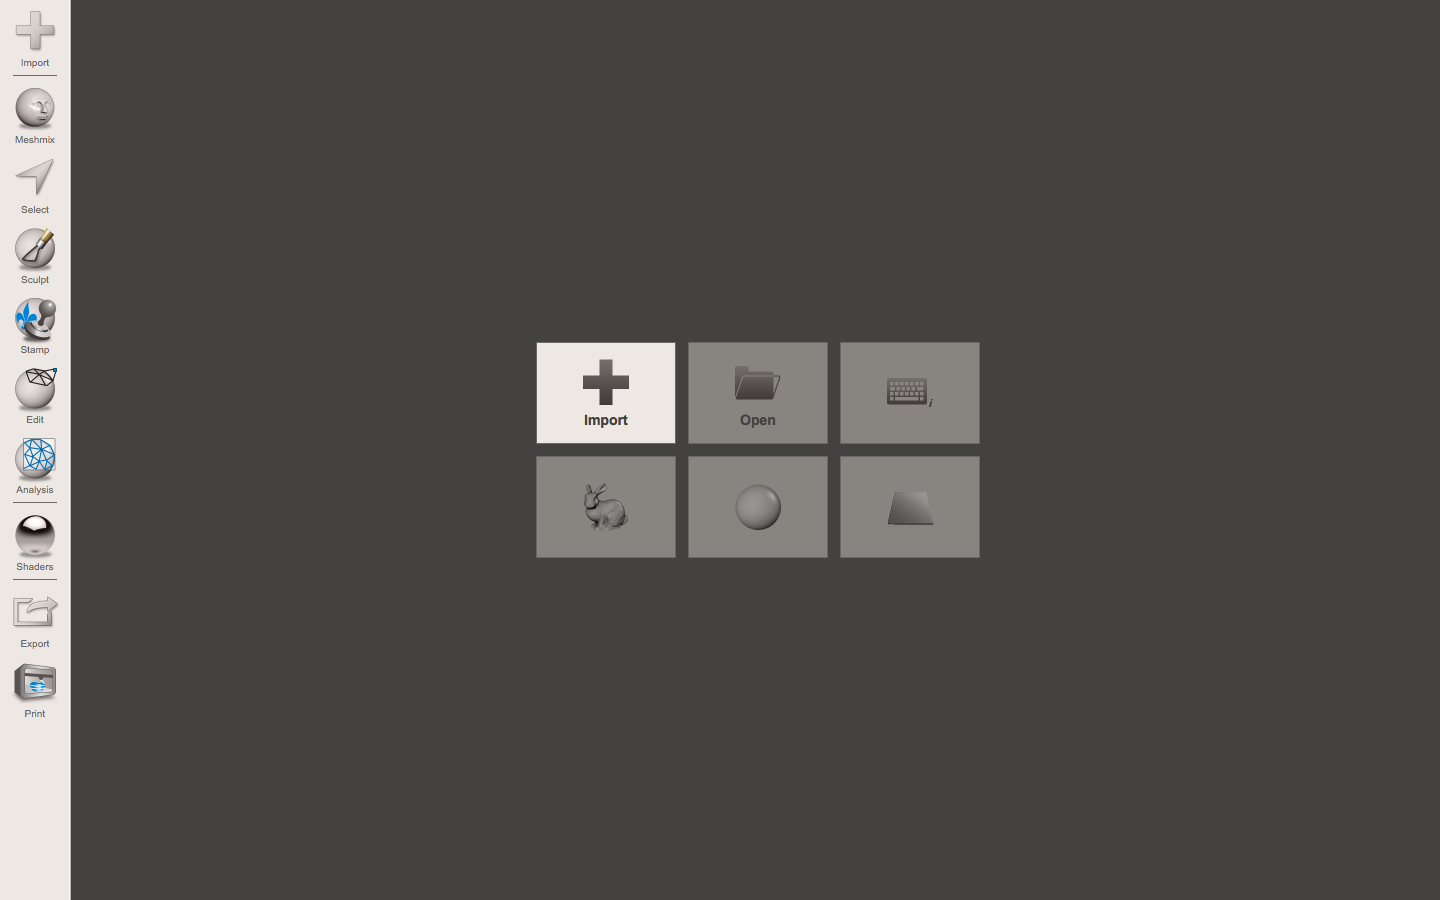
Importing a model is easy. Simply open Mashmixer and click on Import and select the uploaded file. In our case, the arm.
